• You are viewing the forum as a Guest, please login (you can use your Facebook, Twitter, Google or Microsoft account to login) or register using this link: Log in or Sign Up

Gap at one corner between tank and cabinet

cldskt

Member
Joined
22 Feb 2022
Messages
36
Location
Near Equator Line
Good day UKAPS,

Wanted to seek your collective opinions on the solid wood (teak) stand that I had recently commissioned a local carpenter to do. Saw a similar other thread, but that case seems to be in a much worse predicament than this so wanted to have a sanity check regardless.

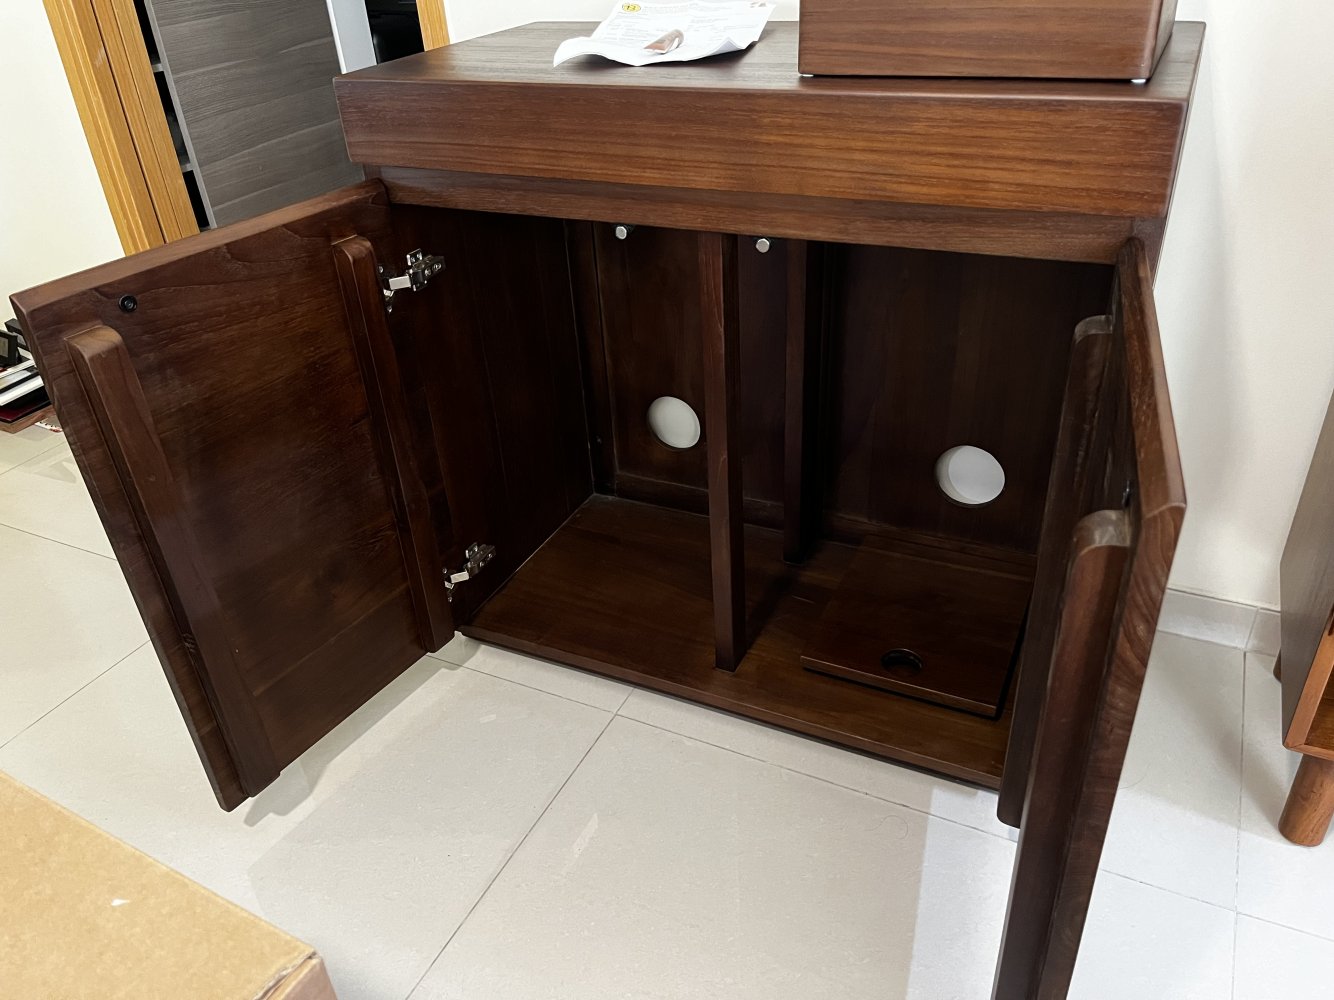
The stand measures approximately 90cm x 45cm x 85cm (L x W x H) and was made to hold a tank measuring 90cm x 45cm x 37.5cm (L x W x H) or approximately 152L of water weight plus the tank weight. The tank itself was made using 12mm low-iron glass, with 1-1.5mm thick silicone work between the glass panels. The cabinet, being fully teak wood, is also super sturdy (walls of the cabinets are 30mm thick, with two middle beams as support).

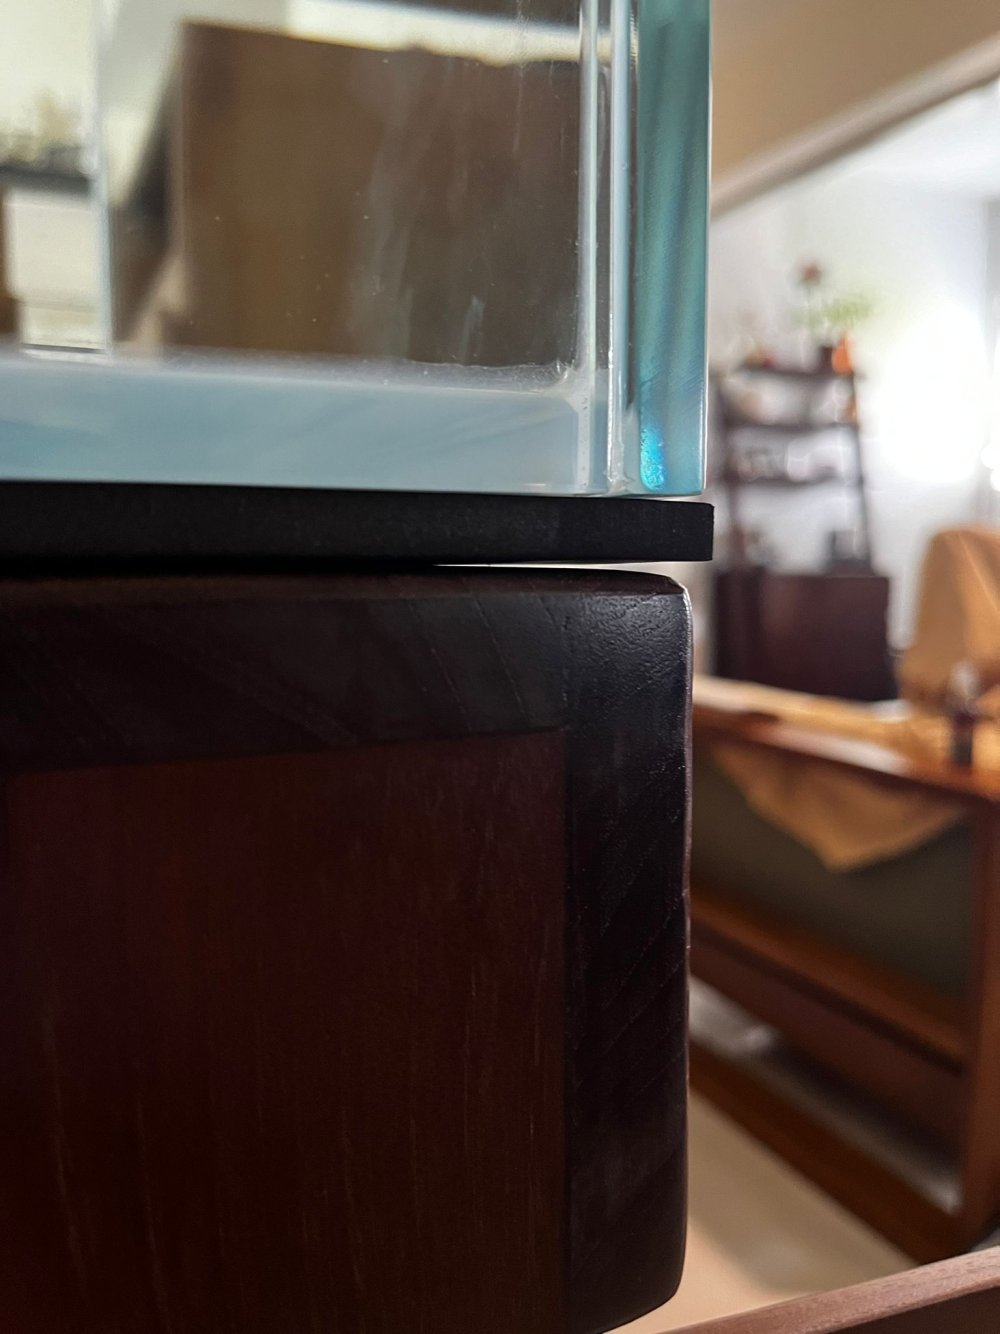
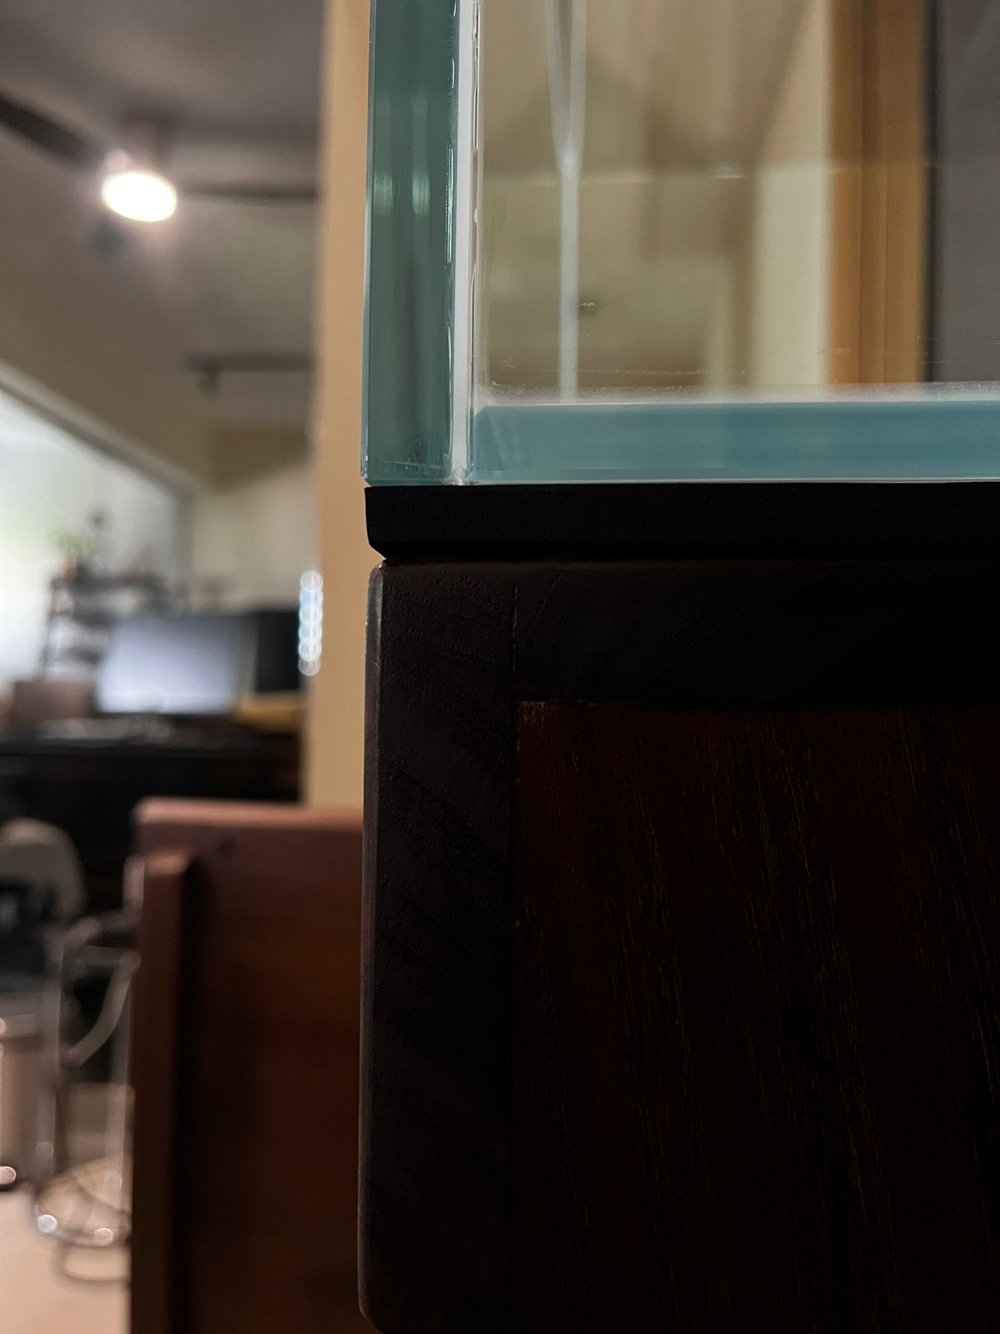
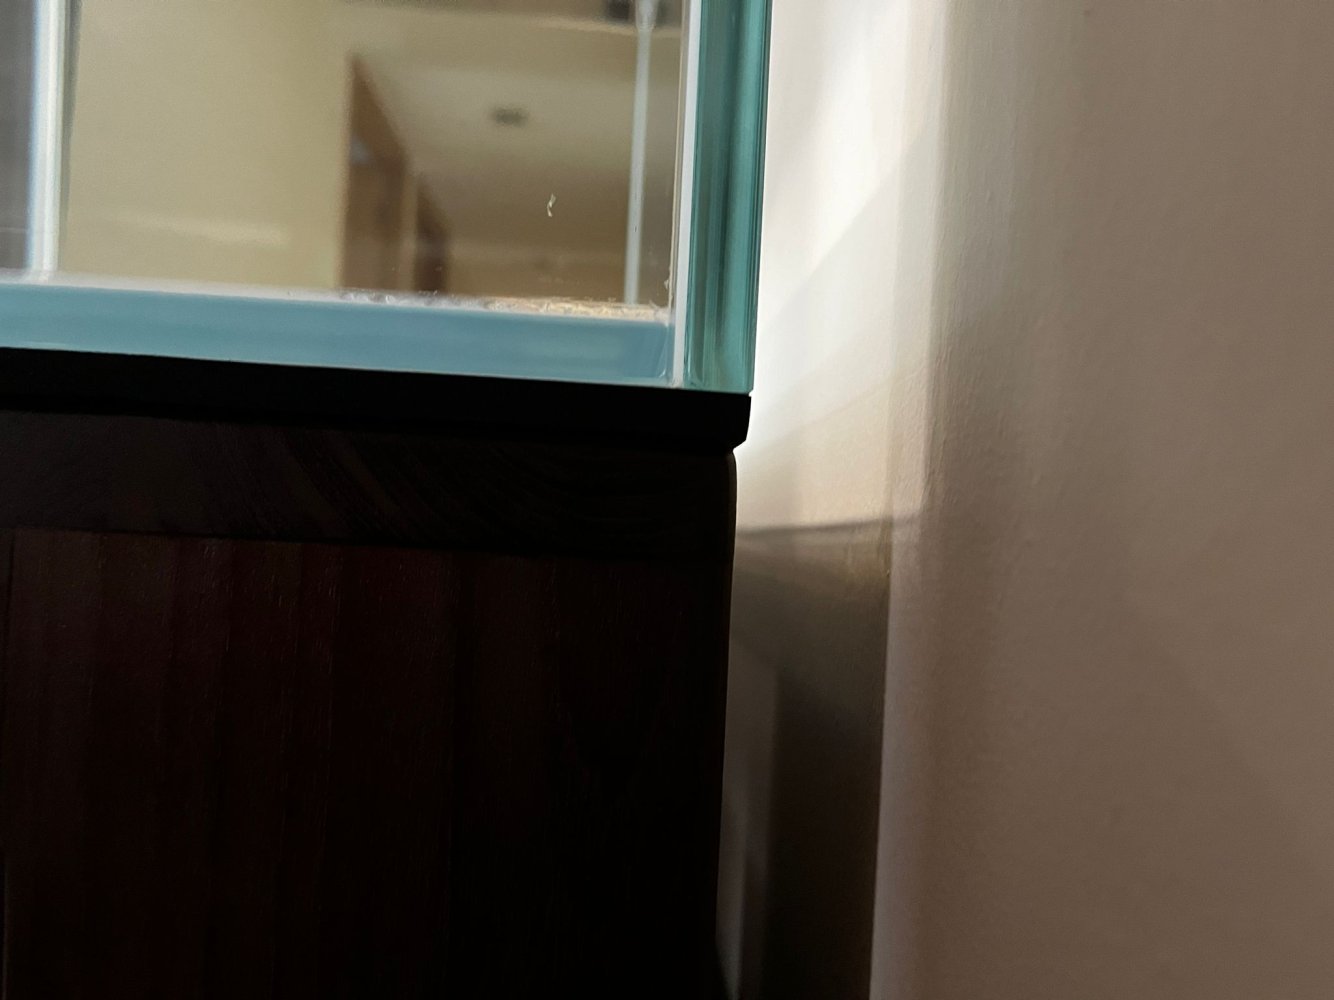
One point of concern though, is that one corner of the tank (front left) is not fully supported even with 8mm foam mat between the tank bottom and the cabinet top (with gap approx. 1-3mm at the furthest point). Other corners seem to be acceptable (in order of the pictures: front right, back left, back right).

I don't think sending back the cabinet will be possible as this was custom designed and made for my specifications, but is this enough of a concern for me to go and source perhaps a 12-15mm marine plywood to put between the mat and the cabinet top?

Cheers,
cldskt
 

Attachments

  • Front left.jpg
    Front left.jpg
    231.7 KB · Views: 58
  • Front right.jpg
    Front right.jpg
    207.8 KB · Views: 43
  • Back left.jpg
    Back left.jpg
    212.9 KB · Views: 40
  • Back right.jpg
    Back right.jpg
    183.5 KB · Views: 48
Hard to be sure just from pictures, but it almost looks like the mat is thinner in that one corner - is that a possibility? What does the stand top look like when a metal straight edge, such as a spirit level, is pressed against it?
 
I'd be concerned by that gap as well. I'd use a straight edge across the whole surface to check for eveness (such a s a long spirit level). AlsoI wonder if whoever built it for you would be able to sand the surface down to make it even? It's one of the challenges with hand built stuff and I had it when I Ince had a stand built into an old chimney breast. It was uneven, but the chippie was happy to sand the surface to make it even.
 
Hard to be sure just from pictures, but it almost looks like the mat is thinner in that one corner - is that a possibility? What does the stand top look like when a metal straight edge, such as a spirit level, is pressed against it?
Interesting point - I don’t think they are of uneven thickness but worth double checking it again I guess. Had to be away for the next 3 days but will report back soon.
 
I'd be concerned by that gap as well. I'd use a straight edge across the whole surface to check for eveness (such a s a long spirit level). AlsoI wonder if whoever built it for you would be able to sand the surface down to make it even? It's one of the challenges with hand built stuff and I had it when I Ince had a stand built into an old chimney breast. It was uneven, but the chippie was happy to sand the surface to make it even.
Thanks hypno - will ping the carpenter and check if sanding is an option. One of the drawbacks of solid wood too I presume, often they can warp / bend ever-so-slightly unlike an MDF material for example.
 
If sanding not an option ,perhaps the carpenter could make a custom made marine ply plinth to cover the top, if he's a workshop tradesman should not be difficult, when the base matt is on it won't even be visible
 
If sanding not an option ,perhaps the carpenter could make a custom made marine ply plinth to cover the top, if he's a workshop tradesman should not be difficult, when the base matt is on it won't even be visible
Thanks Paraguay for the response. You mean like a sheet of marine plywood yeah? That’s also another option I’m exploring, for 15mm thickness at 90x45cm size I have been quoted approx. 60USD by another vendor.

Would really love to make this work, as it has been quite a back-and-forth correspondence with the carpenter to make it a reality, including a pull-out tray à la OASE Cabinet style 😉
 

Attachments

  • IMG_8094.jpeg
    IMG_8094.jpeg
    2.4 MB · Views: 48
Thanks hypno - will ping the carpenter and check if sanding is an option. One of the drawbacks of solid wood too I presume, often they can warp / bend ever-so-slightly unlike an MDF material for example.
Indeed, you're always better (if you want real wood) to use block glued worktops as they do not warp.

It's a lovely looking stand!
 
Teak (Tectona grandis) is one of the hardest, densest, most water resistant and dimensionally stable type of wood so one of the best candidate woods for an aquarium cabinet. It is a beautiful piece of furniture and it would be a shame to have to top it with ply. You really need to get a straight edge across it to see for sure how far out of level it is. Also we don't know if that gap will close up when the tank is filled and the mat compresses. If the surface is slightly out maybe a double layer of mat would do the job instead of plywood?

And I agree with the suggestion to ask the carpenter to sand it flat if it is not.
 
In addition to all the checking with levels/straightedges ; you might want to measure the distance from the floor to the cabinet top in all 4 corners . Looking at your front left picture , it's possible the cabinet maker got a bit carried away with his belt sander . Think I'd try a double layer of mat before anything. Wouldn't want to be the guy who had to level out that top seeing as the cabinet is already assembled and finished . Failing everything else , maybe a piece of black UHMW or similar plastic 13mm or so between the top and the mat would work . Or just go for the 15mm plywood ,sand the edges and paint them black to blend in with the mat .
 
It is a beautiful piece of furniture and it would be a shame to have to top it with ply. You really need to get a straight edge across it to see for sure how far out of level it is. Also we don't know if that gap will close up when the tank is filled and the mat compresses. If the surface is slightly out maybe a double layer of mat would do the job instead of plywood?
Valid points Maf - I will get a straight edge (like a leveler) across the surface front-back, diagonally, and side-to-side before reporting back here.

The tank is actually fully filled at the time of taking the initial 4 photos, and has been for the last 3 days. I do agree that sanding might be the better option aesthetically, but weighing my options I might go with 15mm marine plywood, sand and repaint the trim black myself if the carpenter comes up with a bunch of excuses.

In the meantime, I do have a piece of styrofoam sheet (about 12-15mm thick) given by the tank manufacturer that I can use and see whether that helps.

Looking at your front left picture , it's possible the cabinet maker got a bit carried away with his belt sander . Think I'd try a double layer of mat before anything. Wouldn't want to be the guy who had to level out that top seeing as the cabinet is already assembled and finished . Failing everything else , maybe a piece of black UHMW or similar plastic 13mm or so between the top and the mat would work . Or just go for the 15mm plywood ,sand the edges and paint them black to blend in with the mat .

Thanks Someoldguy - I agree that they may have sanded the corners abit too much, some other furniture pieces I made with the same carpenter showed this to be the case lol.

Now where do I find myself a UHMW sheet? Sounds like an interesting option to explore.
 
Valid points Maf - I will get a straight edge (like a leveler) across the surface front-back, diagonally, and side-to-side before reporting back here.

The tank is actually fully filled at the time of taking the initial 4 photos, and has been for the last 3 days. I do agree that sanding might be the better option aesthetically, but weighing my options I might go with 15mm marine plywood, sand and repaint the trim black myself if the carpenter comes up with a bunch of excuses.

In the meantime, I do have a piece of styrofoam sheet (about 12-15mm thick) given by the tank manufacturer that I can use and see whether that helps.


Thanks Someoldguy - I agree that they may have sanded the corners abit too much, some other furniture pieces I made with the same carpenter showed this to be the case lol.

Now where do I find myself a UHMW sheet? Sounds like an interesting option to explore.

Direct Plastics sell them, I haven't used them personally though but had considered UHMW for parts of my cabinet I'm building.
 
I took a look at pricing for a piece of 1/2" recycled black UHMW 18" x 36" (apologies for the inch measurements , but I'm in the U.S. and that's what the suppliers over here use) . A lot more expensive that a few years back . Between $80 and $100 US . 15mm plywood and a bit of sanding/painting might look a lot more doable .
 
Hi all,

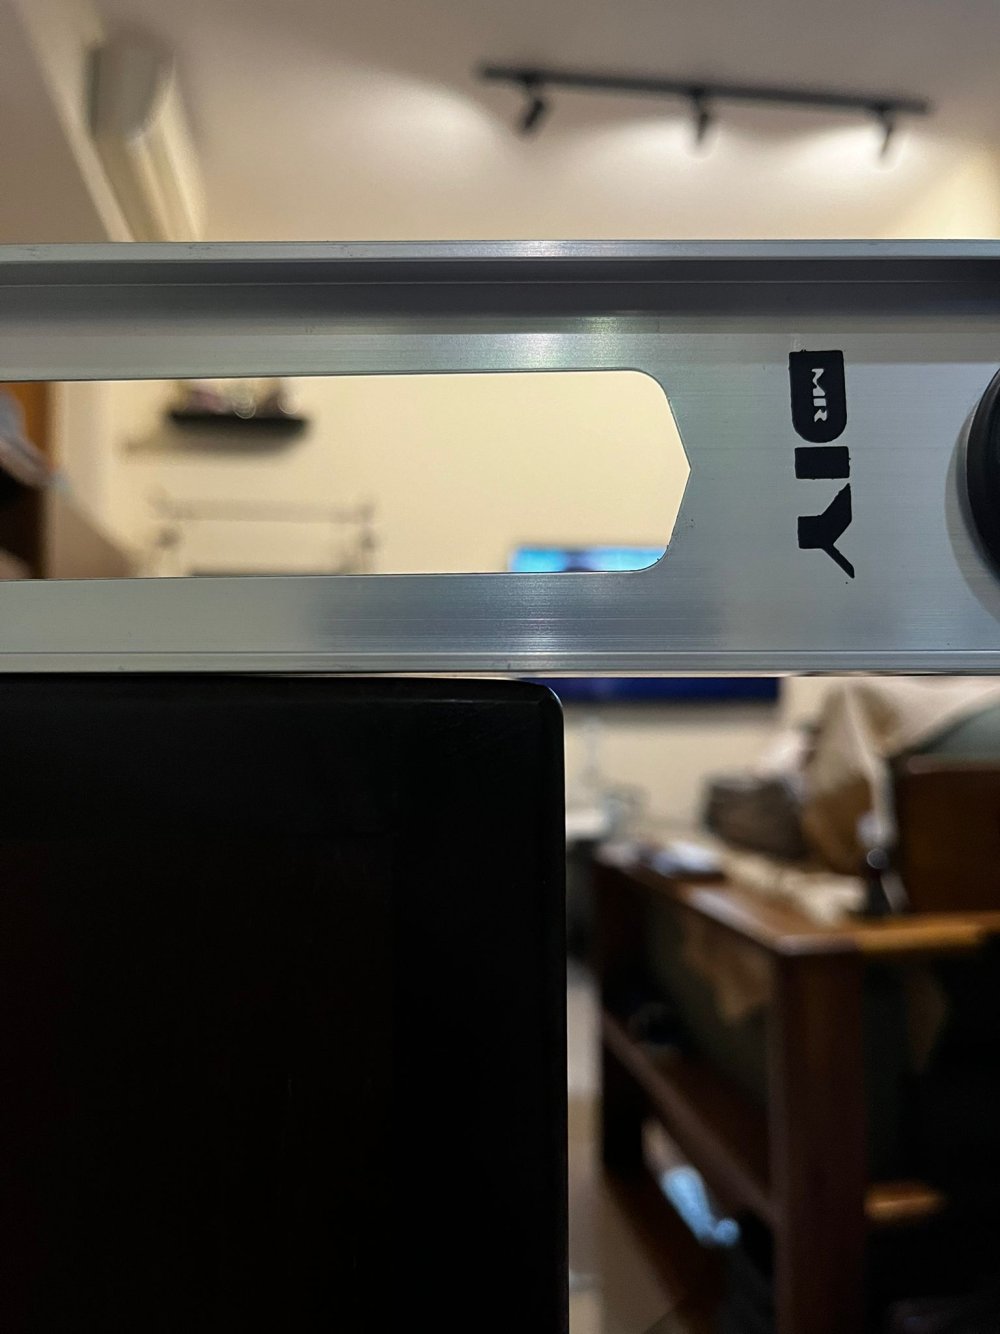
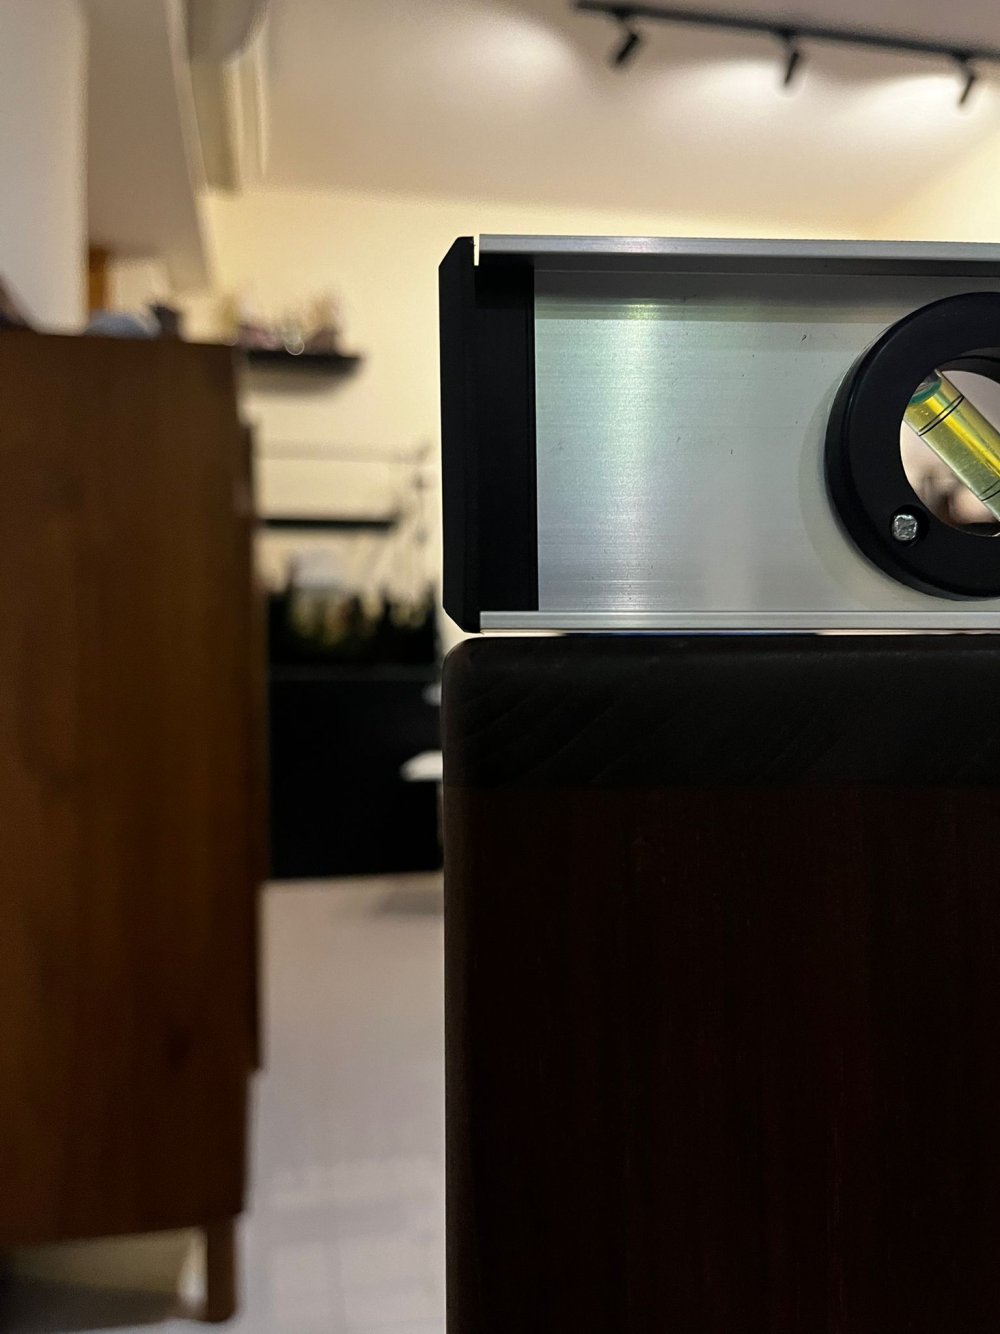
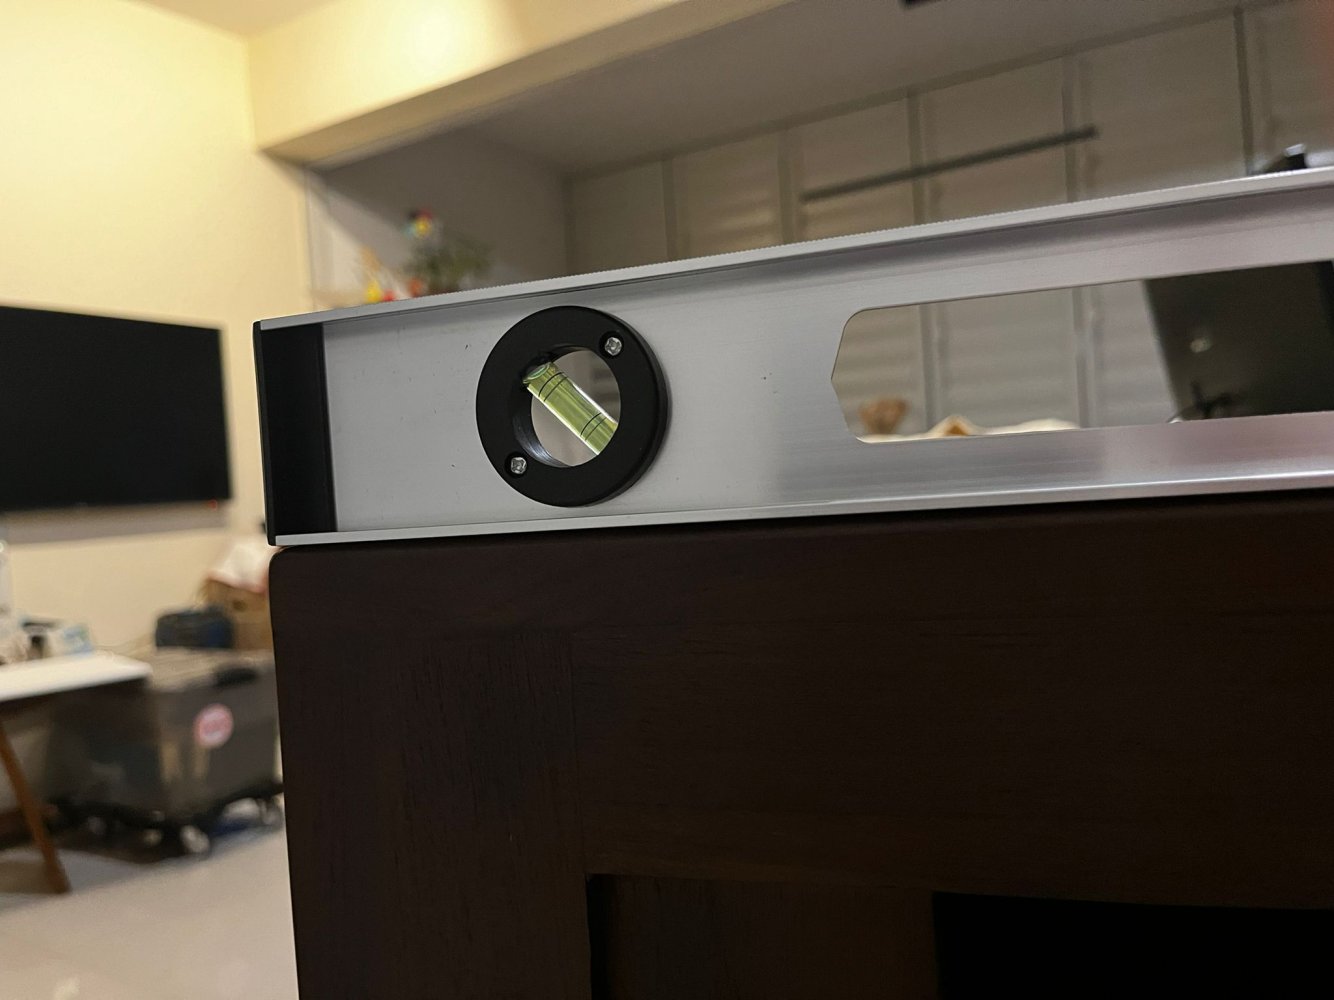
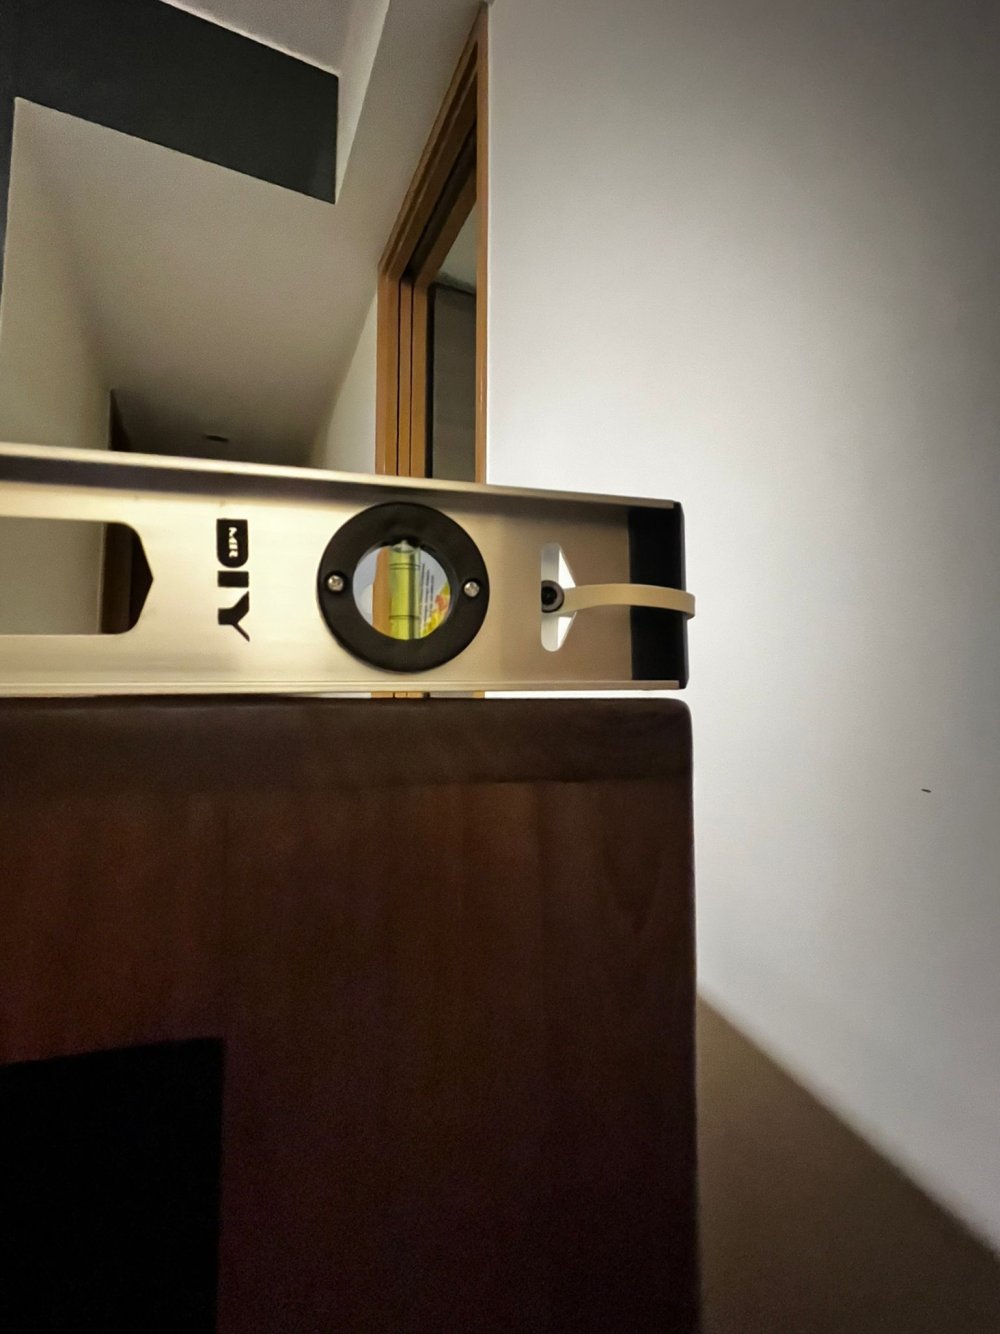
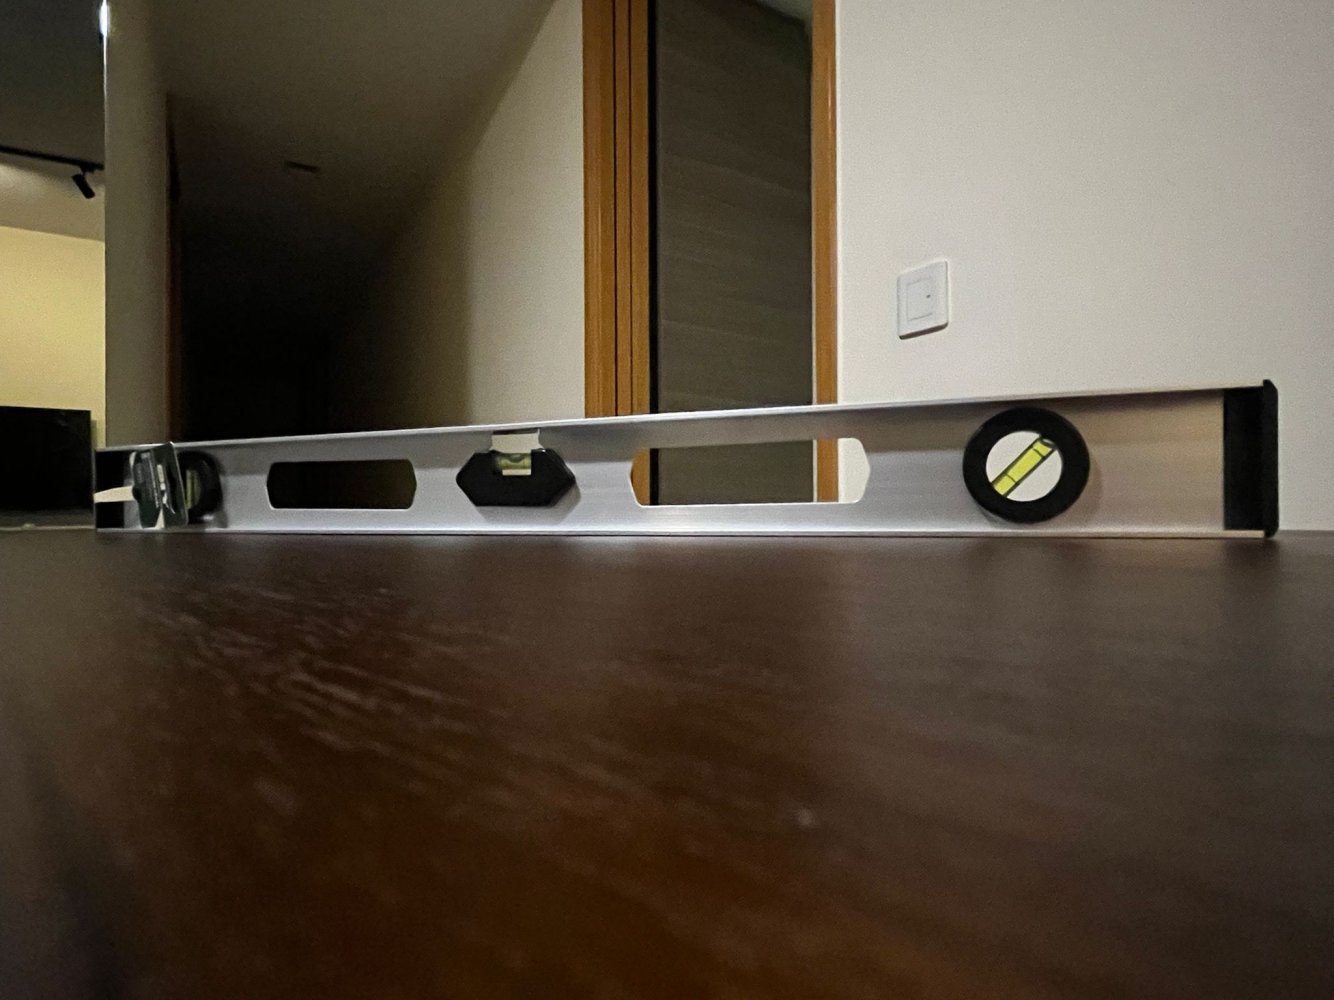
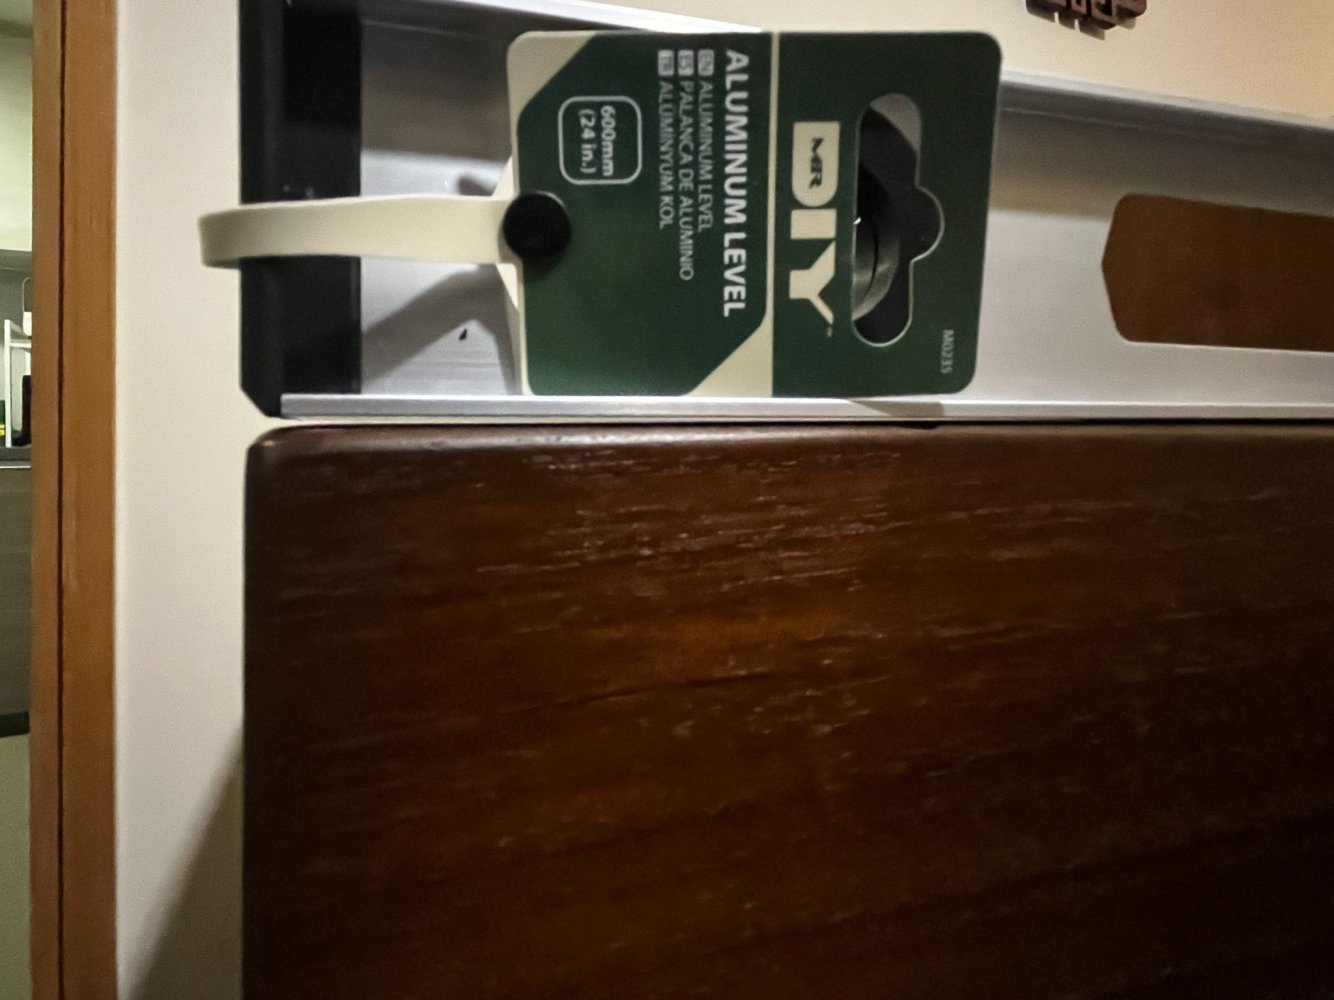
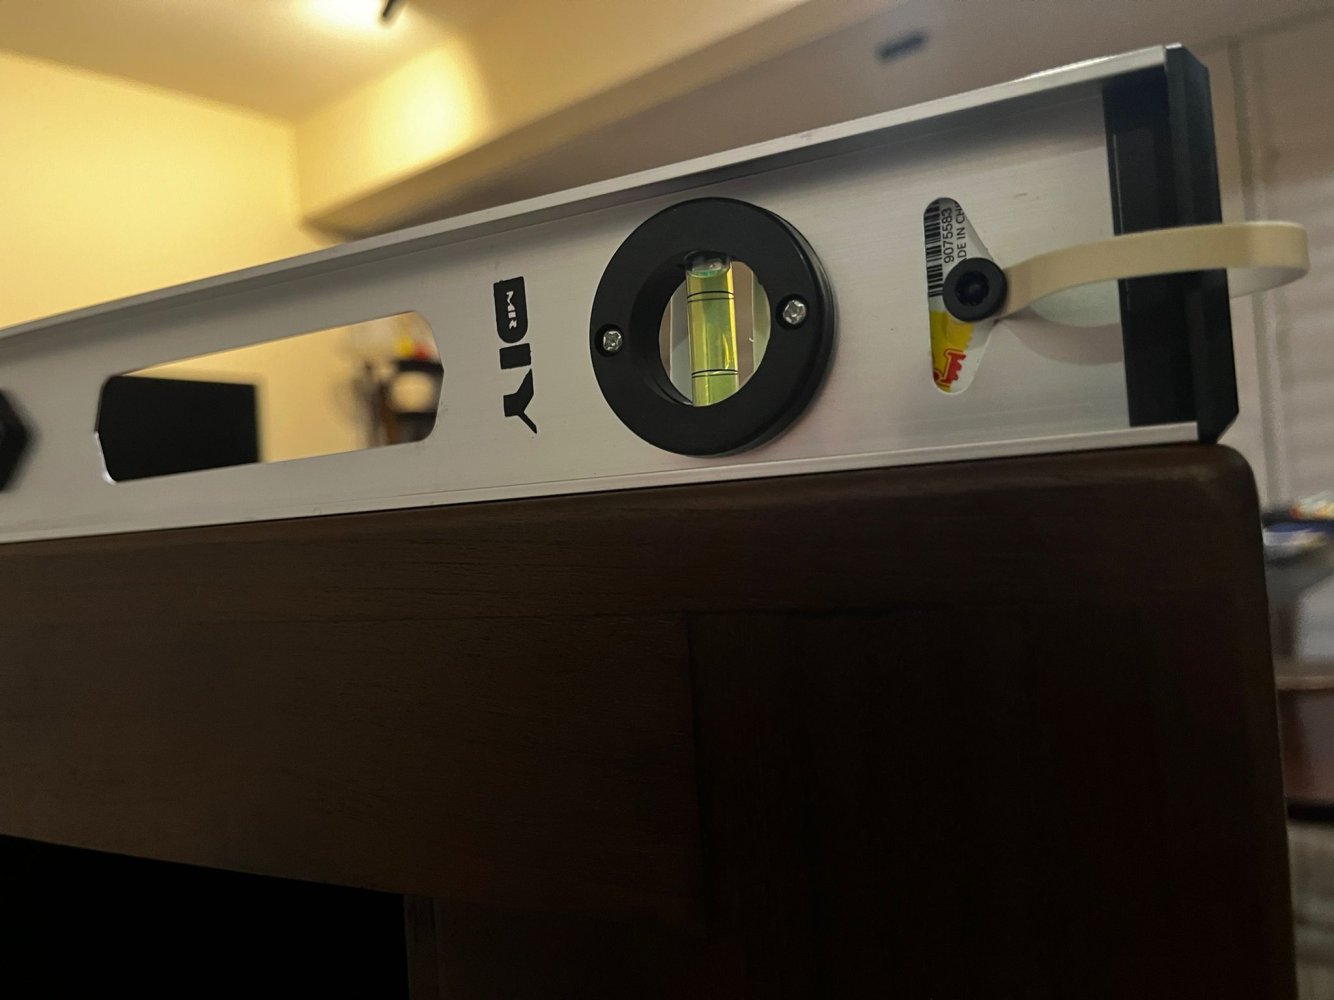
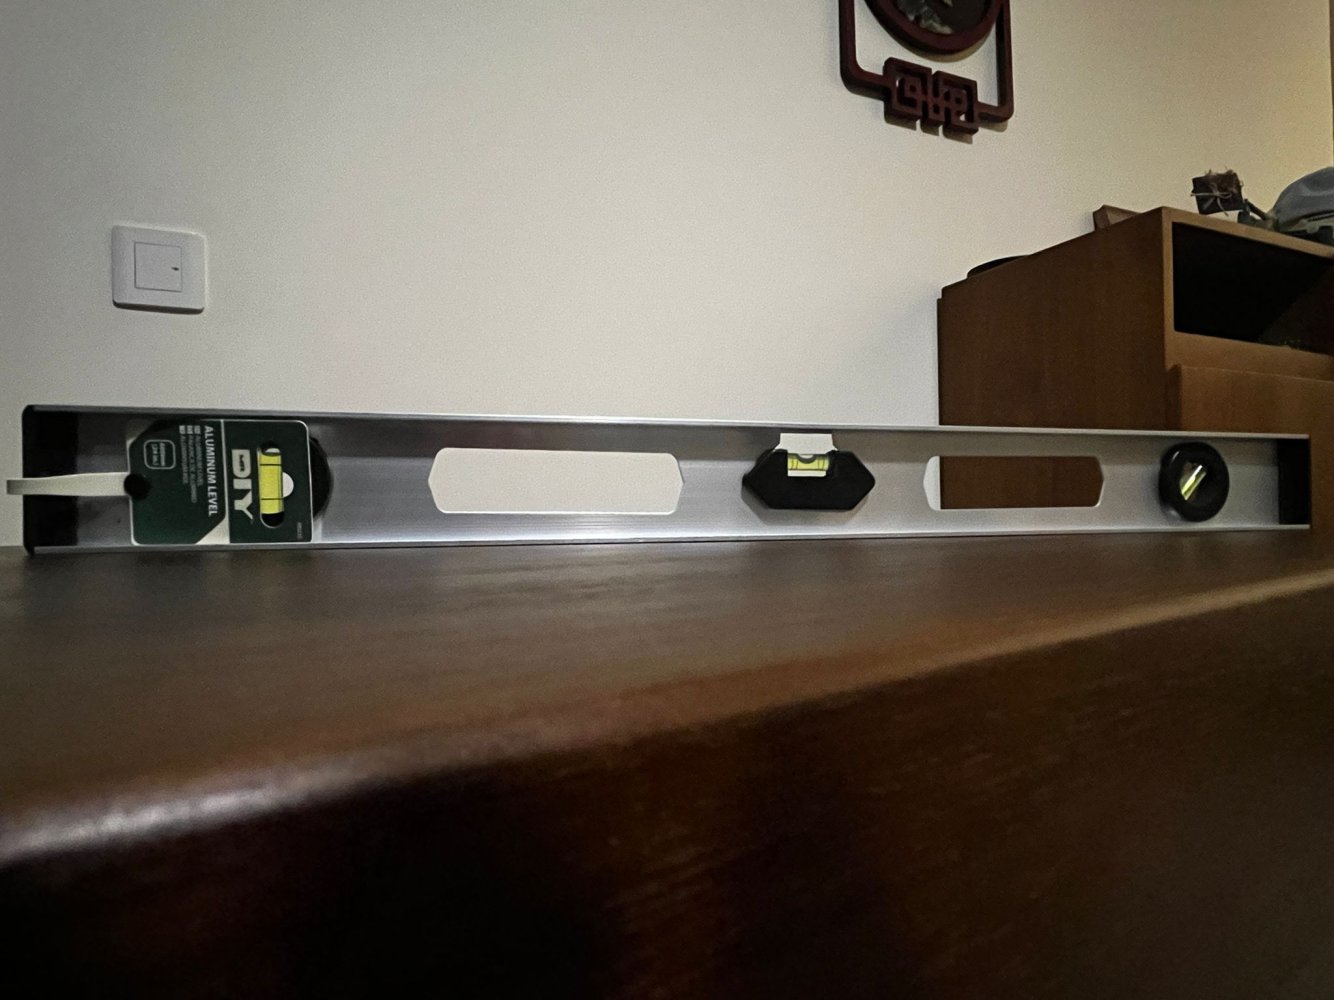
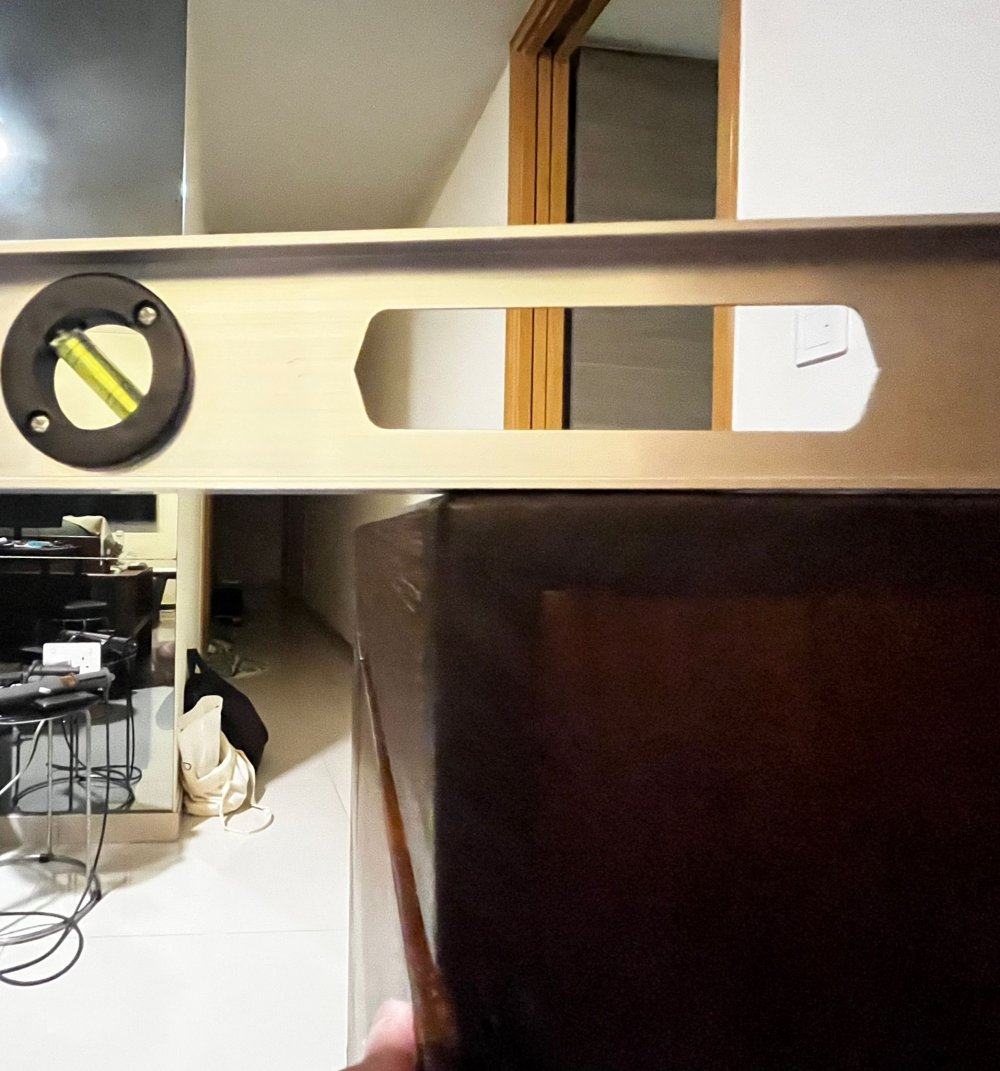
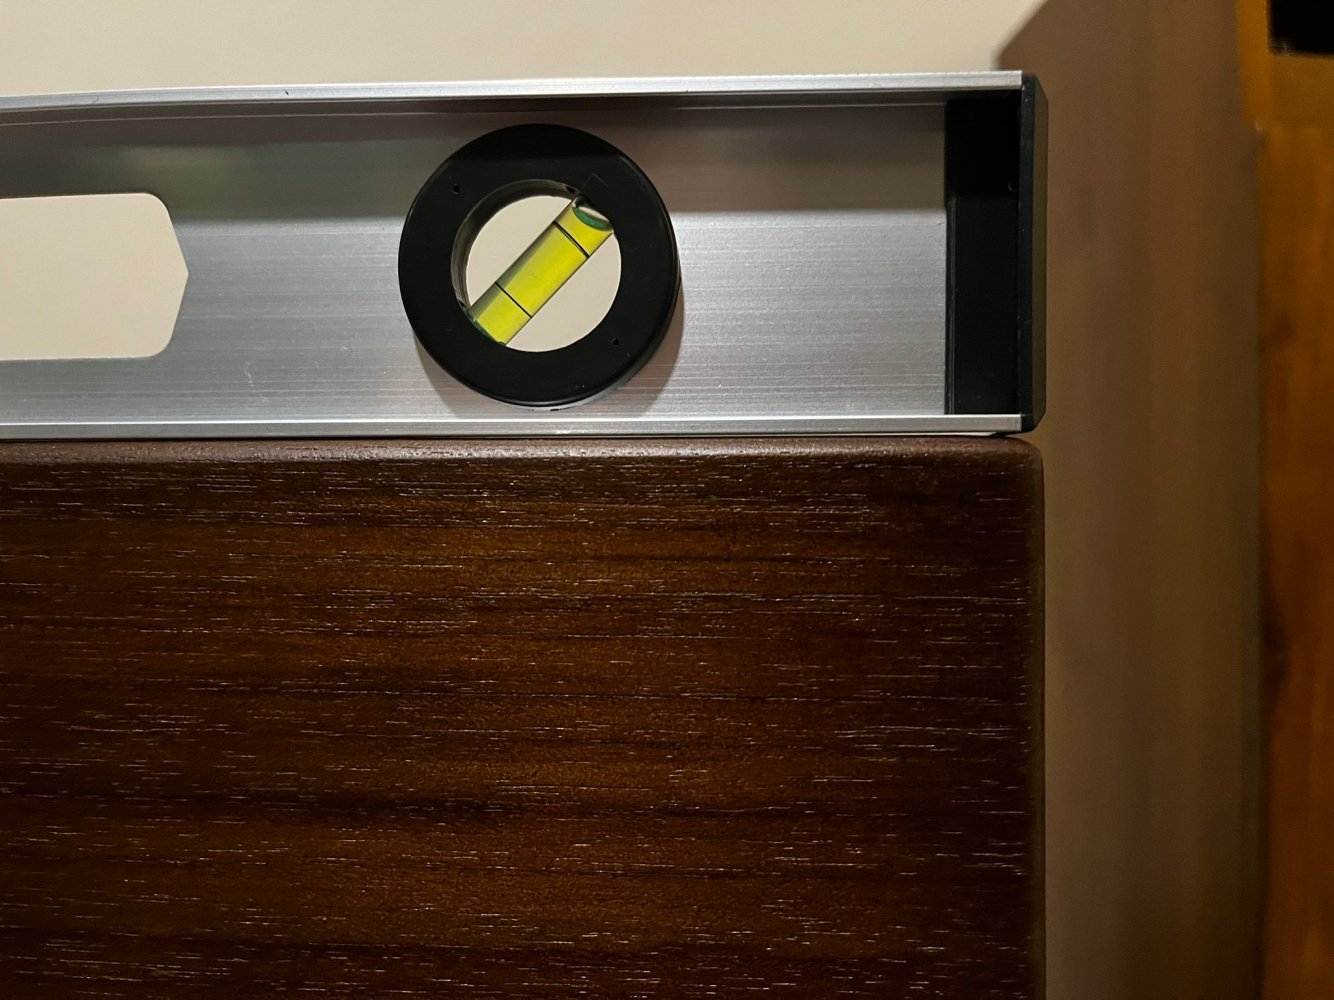
I have finally found the time to take pictures with 60cm spirit level.

From pictures, it seems that the gaps are the most apparent when measuring the "front to back" levelness, both left and right side.

The carpenter seems to be open to taking it back to try and sand them, I even offered them my spirit leveler!

In the meantime, I will put 2 layers of foam (8mm and 10mm), fill the tank up with water for a few days and see if the gaps sort of leveled out.
 

Attachments

  • Across - Front left to back left (at front).jpg
    Across - Front left to back left (at front).jpg
    217.9 KB · Views: 15
  • Across - Front left to back left (at back).jpg
    Across - Front left to back left (at back).jpg
    229 KB · Views: 13
  • Back right.jpg
    Back right.jpg
    213.9 KB · Views: 12
  • Across - Front right to back right (at back).jpg
    Across - Front right to back right (at back).jpg
    243.8 KB · Views: 12
  • Diagonal - front left to back right.jpg
    Diagonal - front left to back right.jpg
    315.9 KB · Views: 11
  • Front left.jpg
    Front left.jpg
    260.7 KB · Views: 10
  • Back left.jpg
    Back left.jpg
    202 KB · Views: 10
  • Diagonal - front right to back left.jpg
    Diagonal - front right to back left.jpg
    309.5 KB · Views: 11
  • Across - Front right to back right (at front).jpg
    Across - Front right to back right (at front).jpg
    399.5 KB · Views: 11
  • Front right.jpg
    Front right.jpg
    365.8 KB · Views: 14
Back
Top