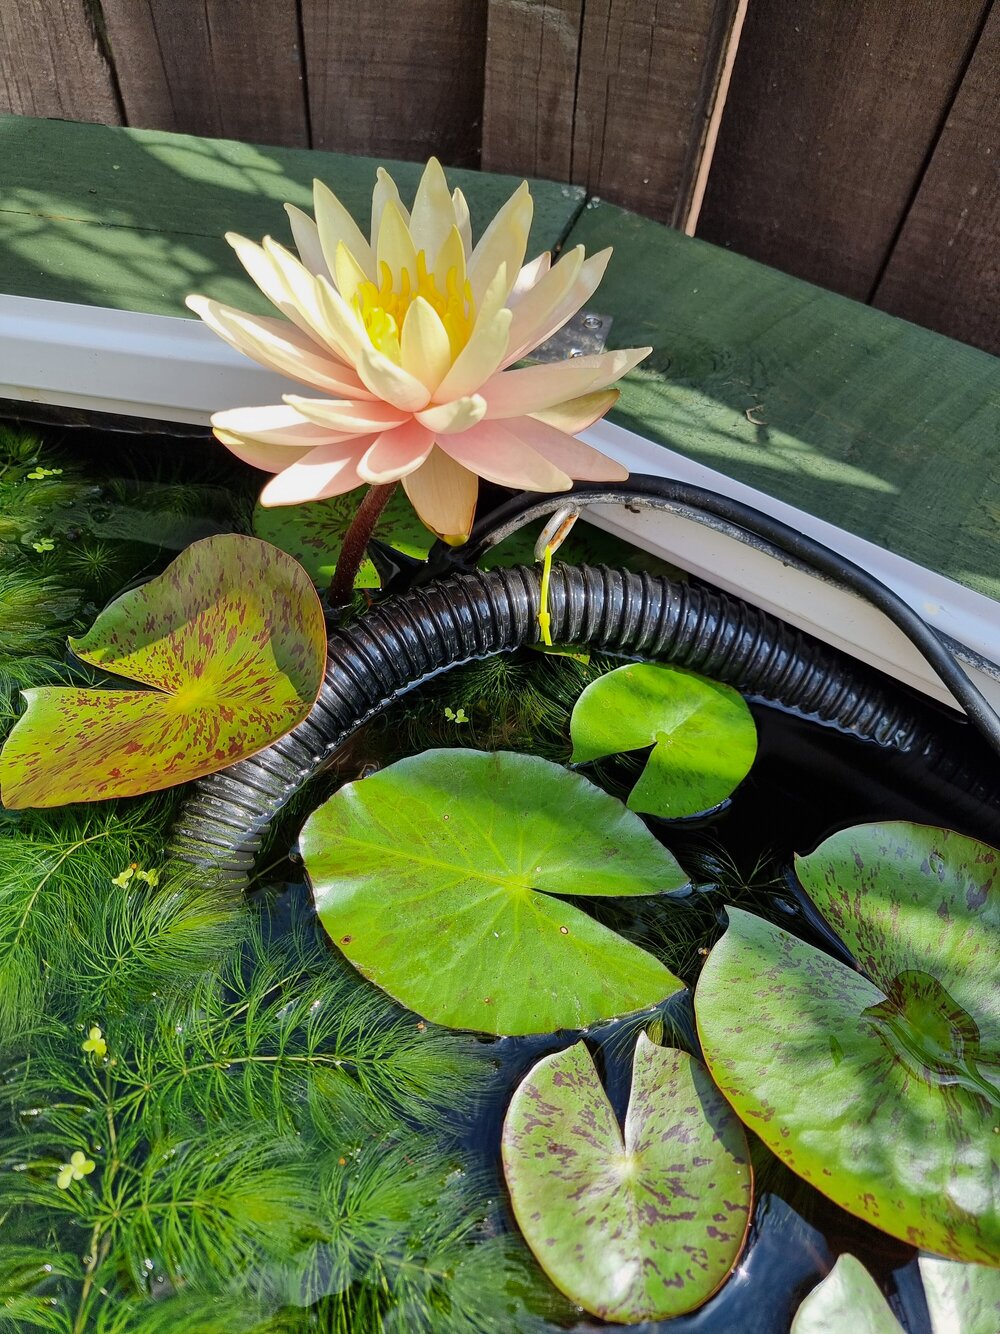
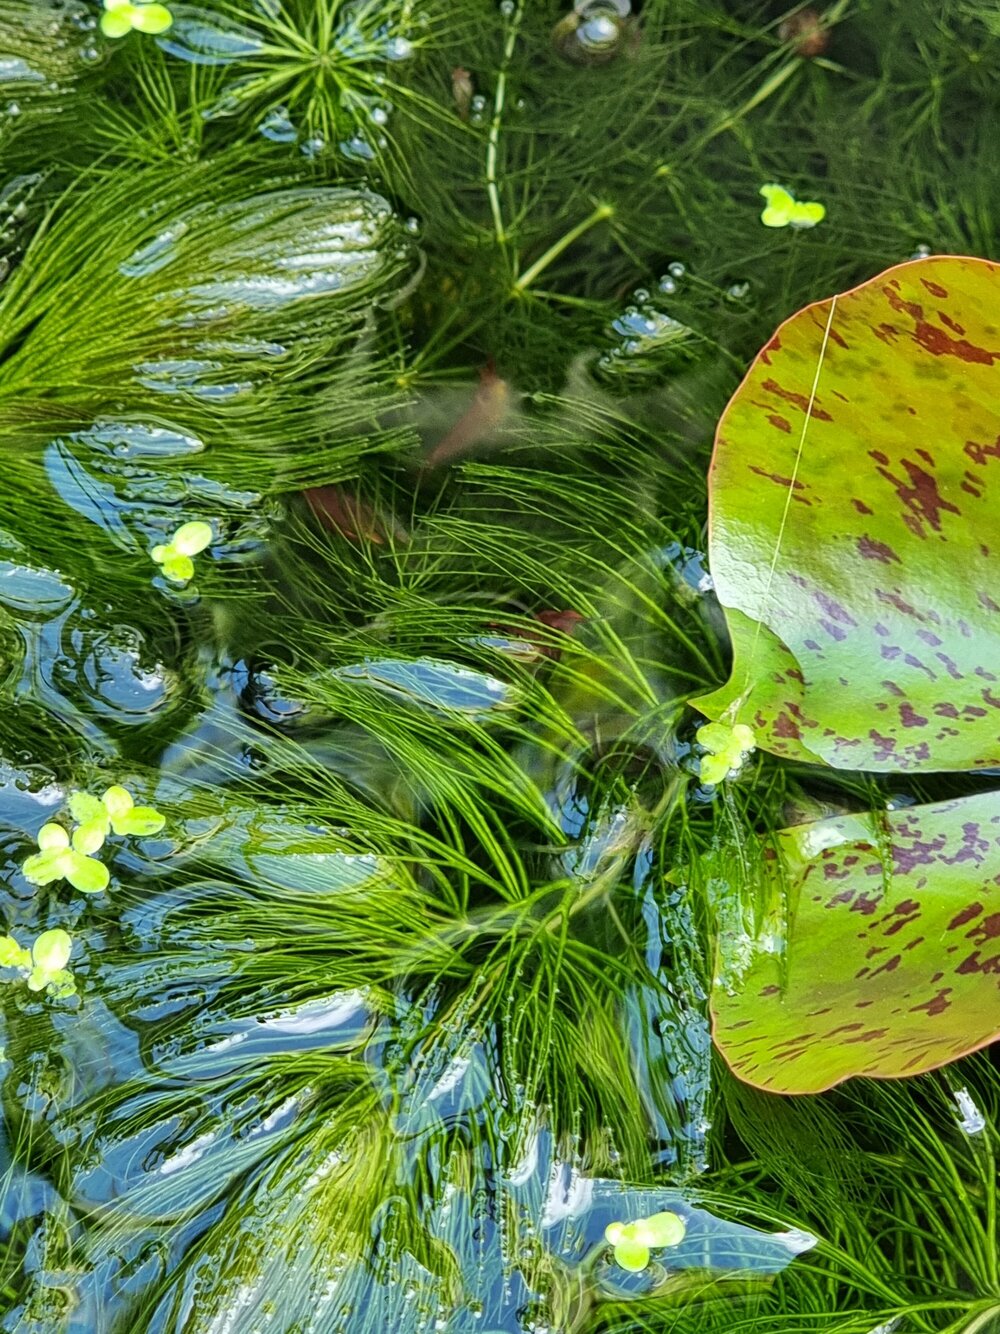
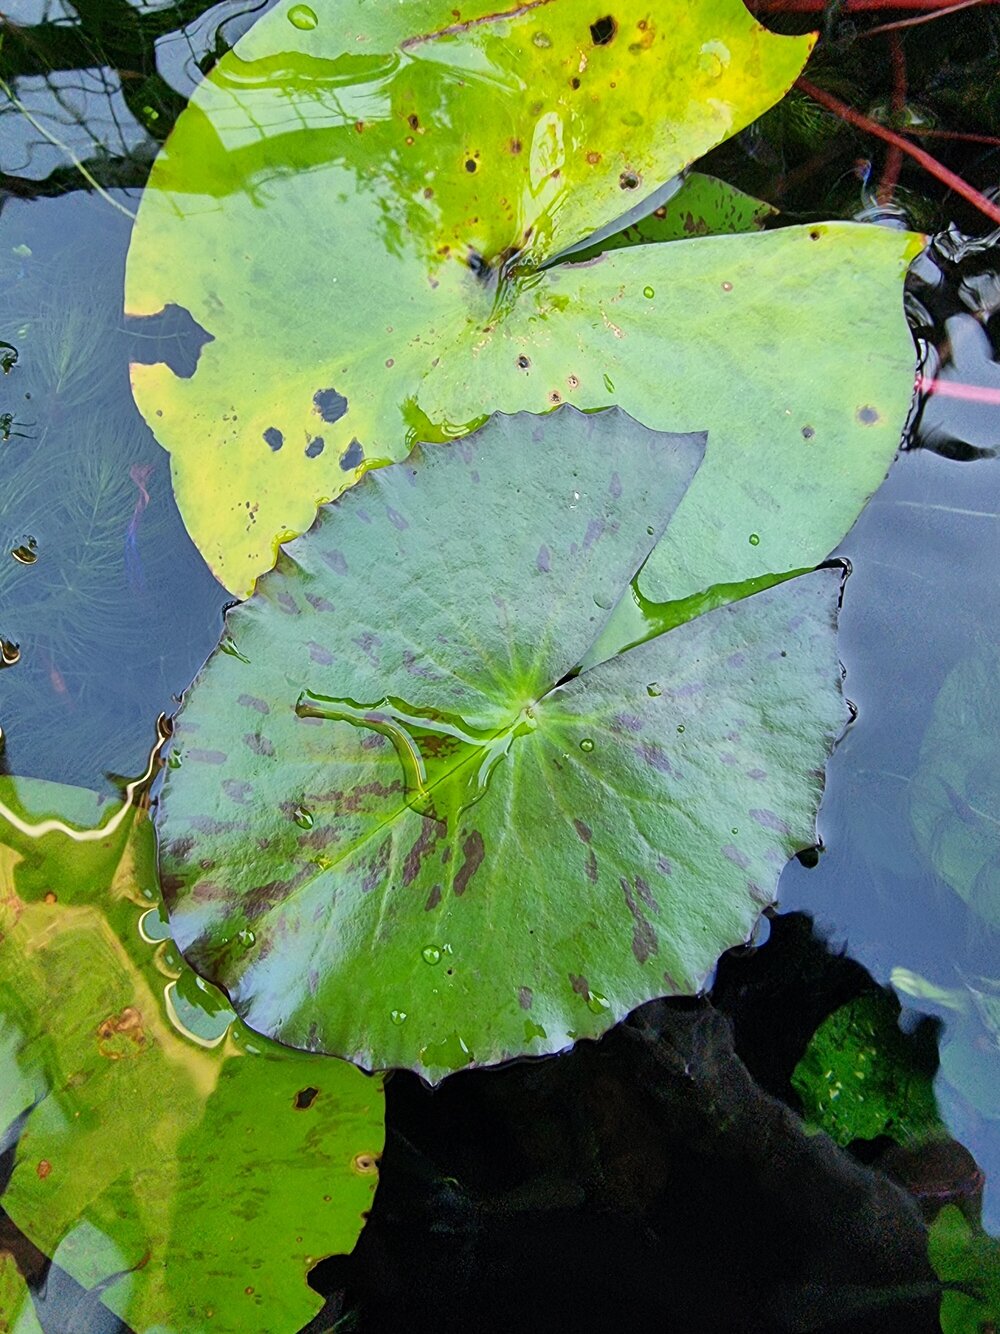
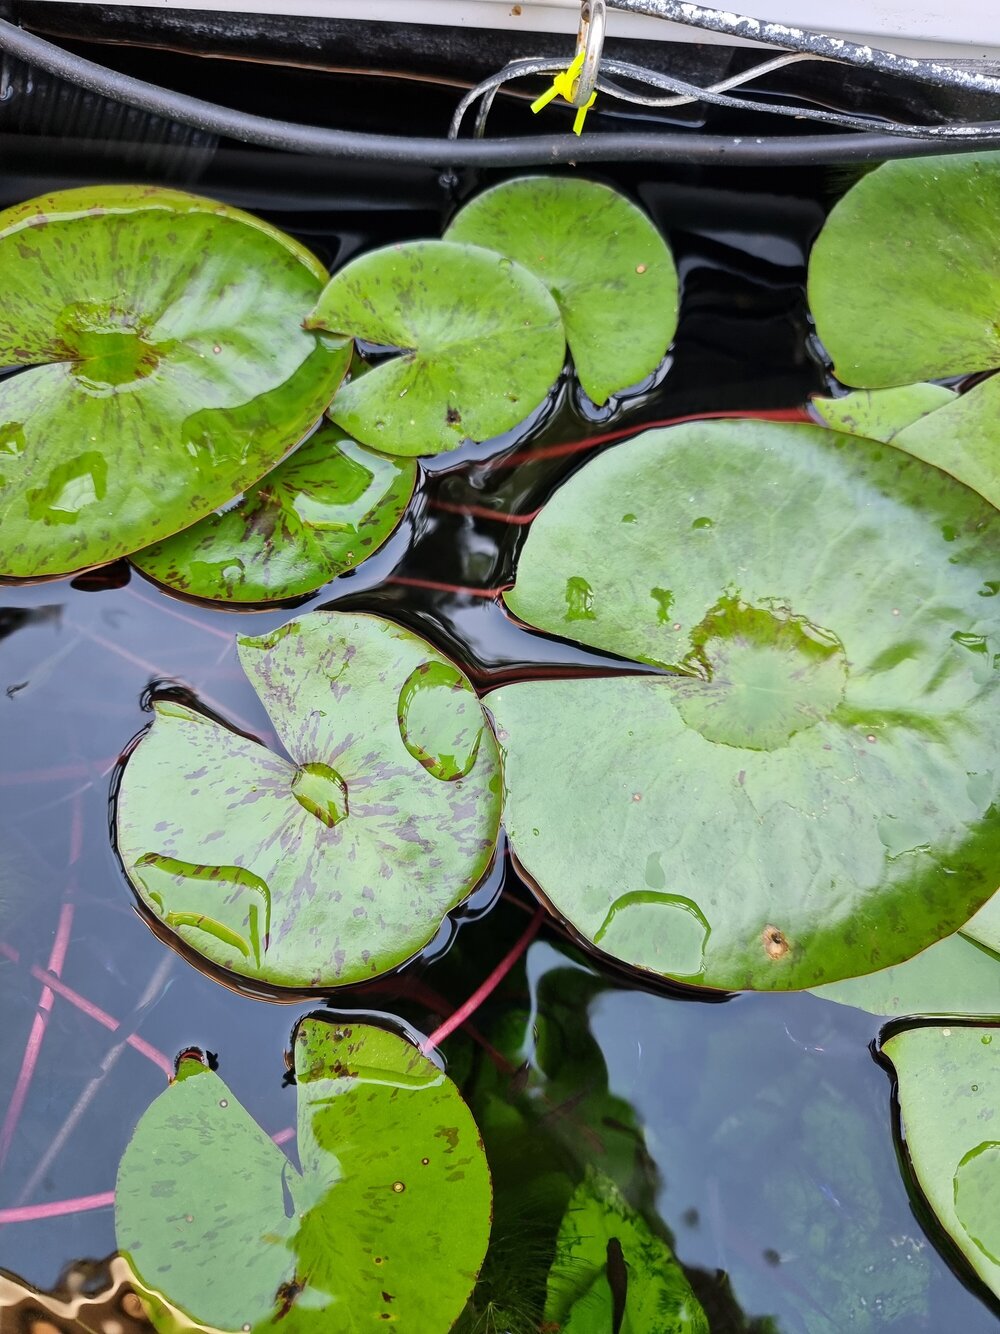
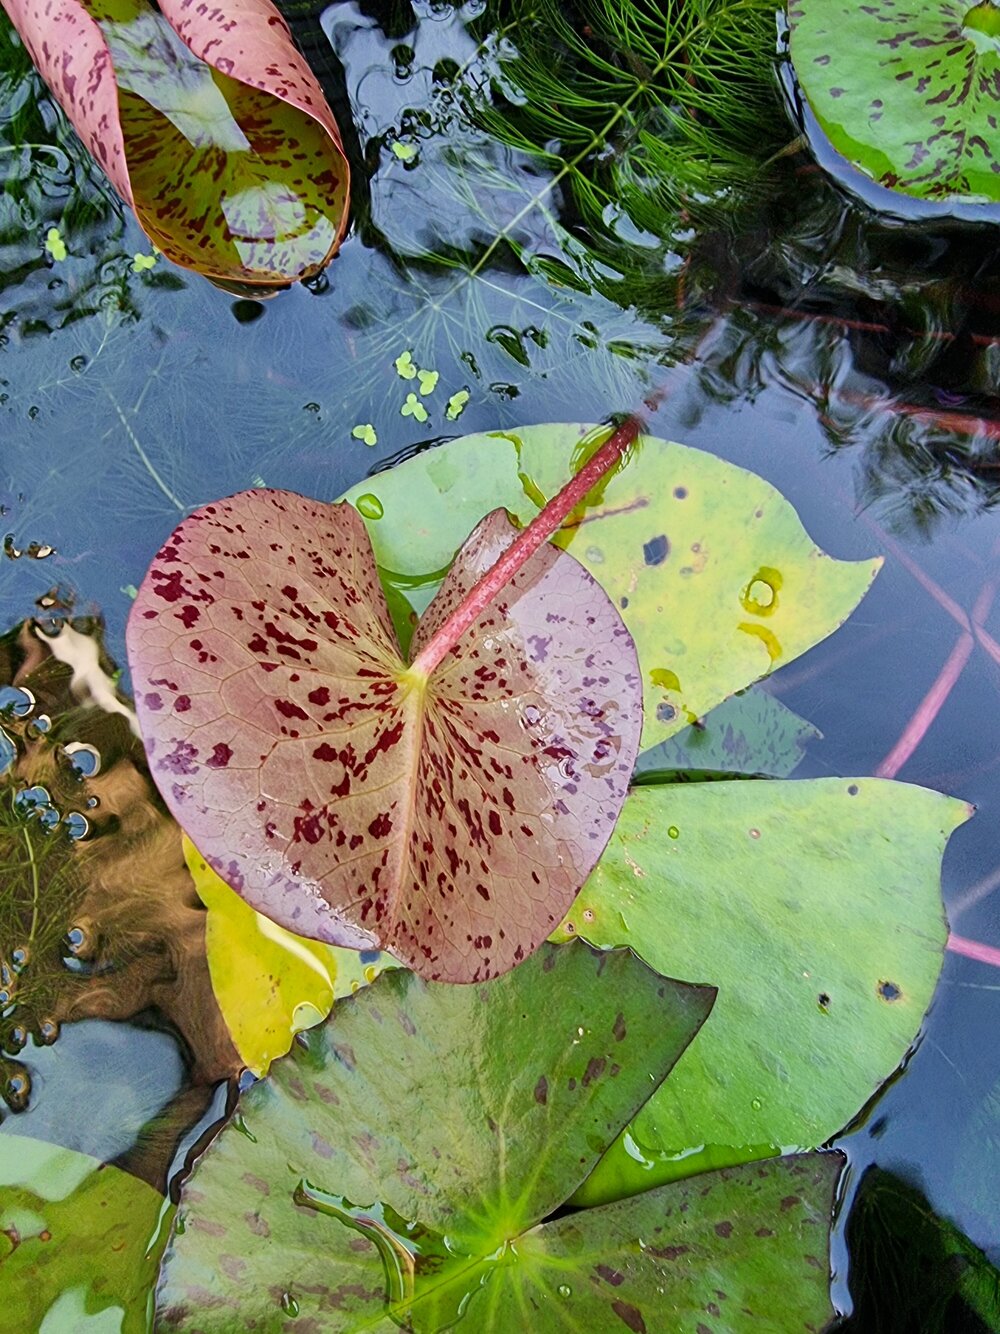
Hi all, I have now setup a new heated ‘mini’ Pond. My existing Pond which has been running for several years had a minor leak which I was unable to find/fix.
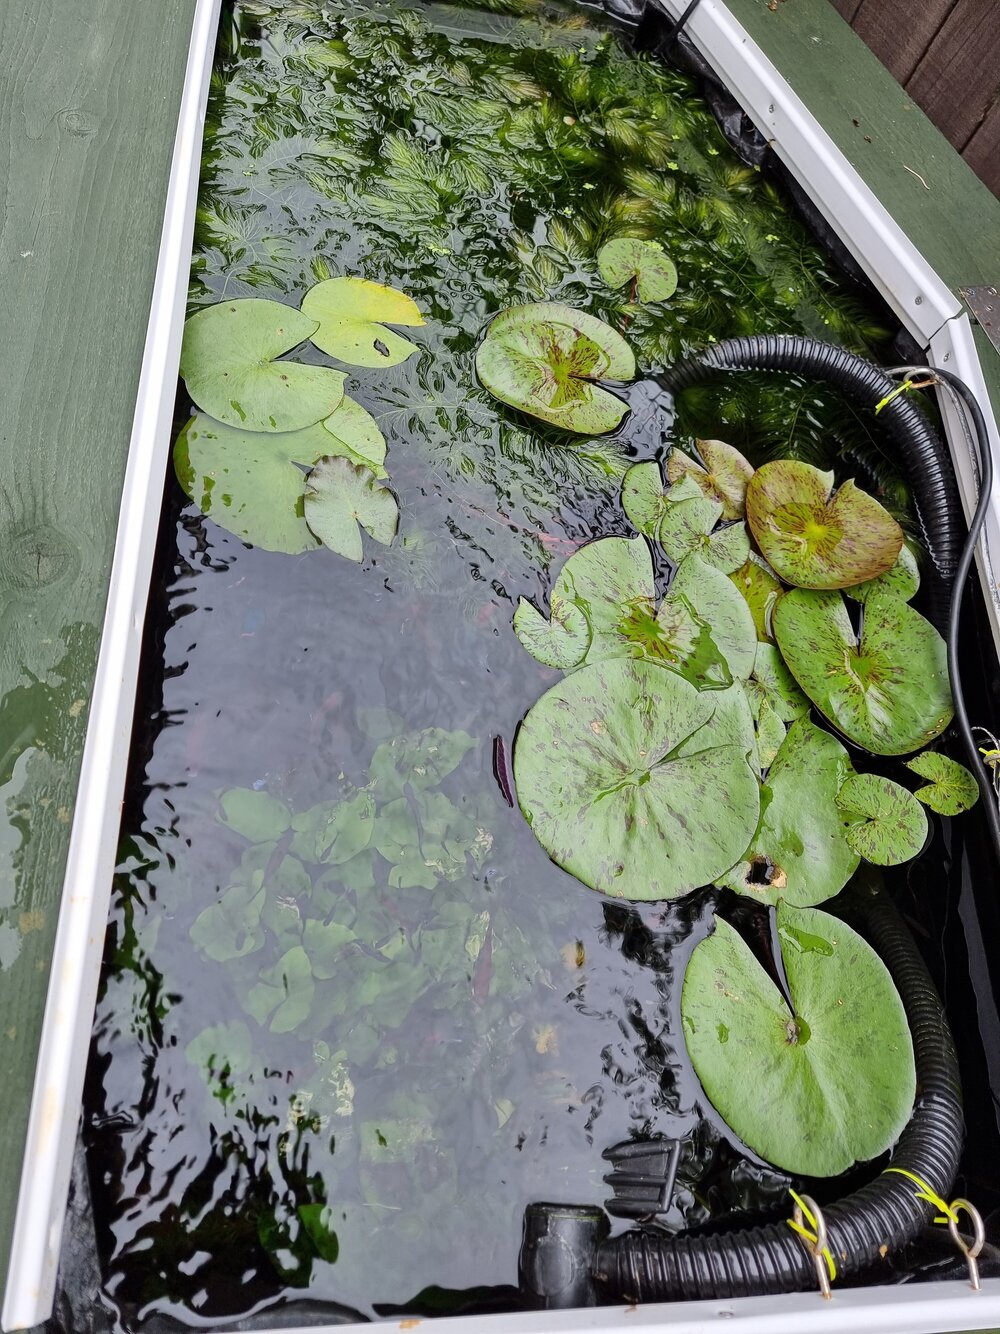
I decided to create a structure which utilised more of the space available to me so went for a timber frame construction with ‘faux’ brick panels. Capacity is now increased to approximately 360 litres up from the 300 litres of the original Pond.
Filtration is now provided by an internal Pond filter minimising heat loss during the cold months.
For heating I will be using the current 2 x 300W Titanium heaters running on separate temperature controllers (in case of failure) and a Seneye for monitoring the Pond.
Prior to moving the inhabitants across I ran the new internal filter for a few weeks in the original Pond.
The new Pond was filled to about 75% capacity and a heater and pump were added in order to get the Pond up to temperature and circulate the water.
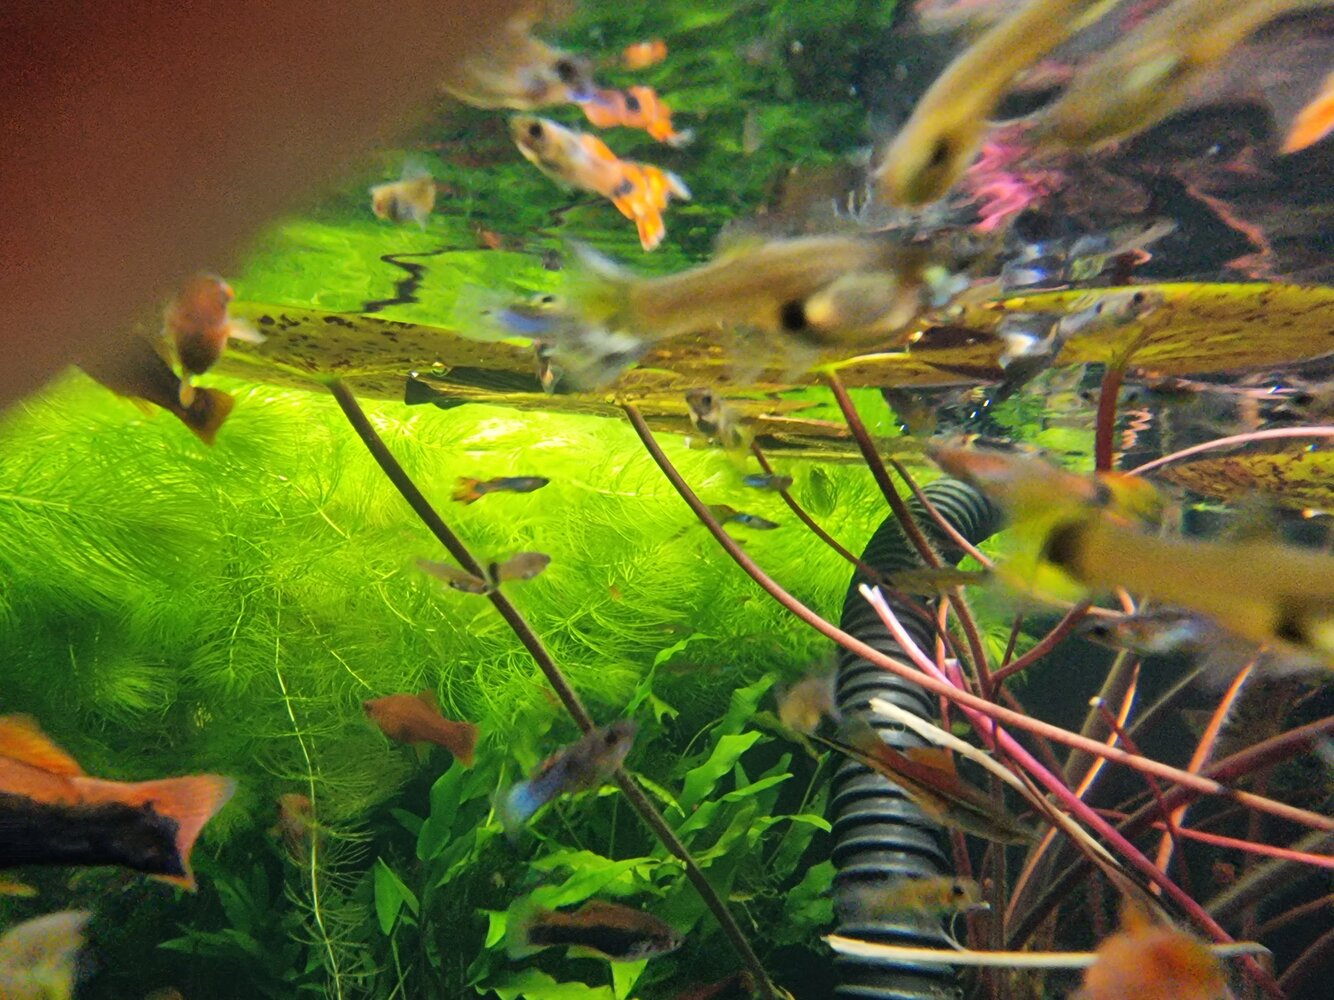
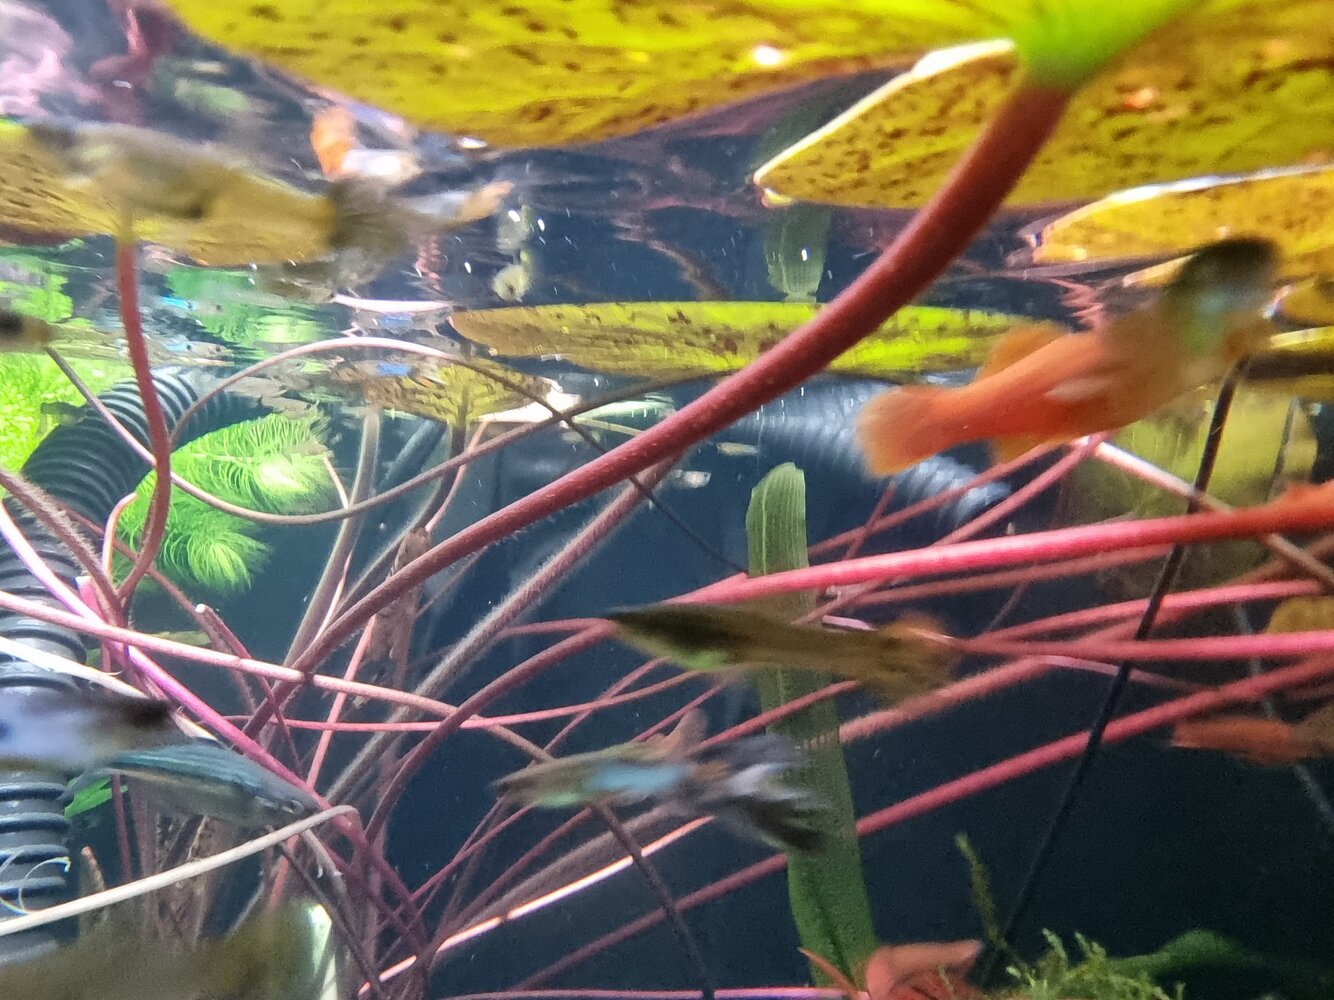
Had fun transferring the inhabitants across. Fish were fairly straightforward to catch the shrimp however, were another matter. Had to partially dismantle the old structure in order to ‘drop’ the liner to retrieve them from all the nook’s and crannies.
Once the inhabitants, plants and decor were relocated the Pond was then topped up to running level.
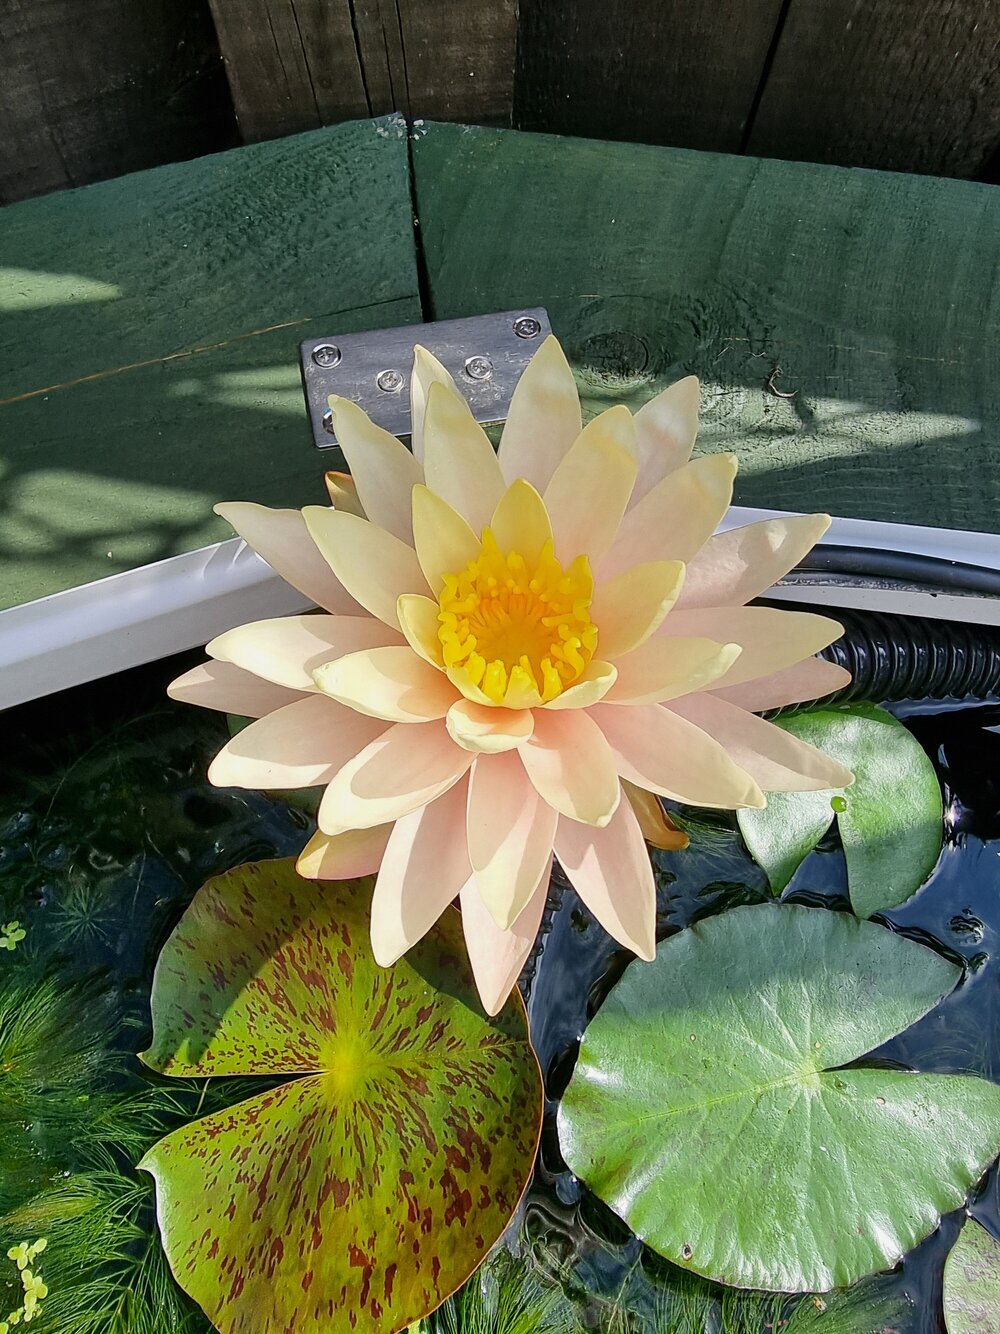
I used boards joined with stainless steel plates to cover the liner. I did consider screwing them to the main carcass but left them ‘floating’ instead to avoid needing to puncture the liner with the screws.
I will need to create a frame to hold the clear plastic sheeting I use for insulating the Pond during the winter months. I have attached a few pictures of the construction and the completed structure.


