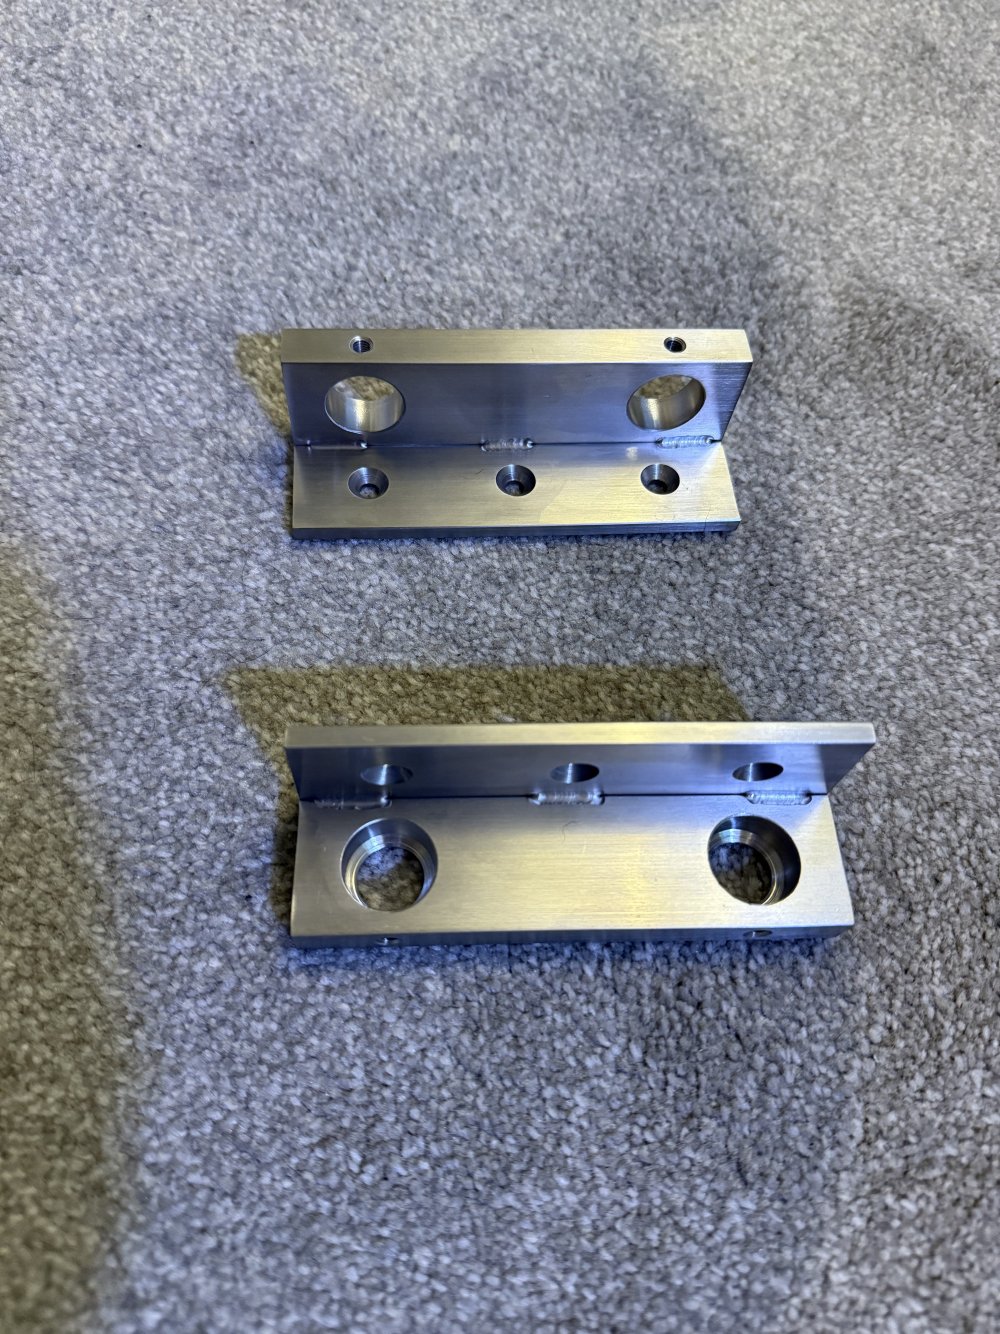
Hi, I have bought an ADA solar one arm stand 90 cm x 45 cm, to fit to my 75p tank. I have already set up and glued my hardscape together and filled with soil. On this tank, I am planning on doing a dark start so I wasn’t in a rush to get a light. I came across a deal on the stand that will allow me to hang a suitable light. The problem is according to the instructions the bottom bracket attaches to the bottom of the cabinet and the top bracket attaches right to the top of the cabinet, but if you did this before putting the pole in place, you wouldn’t be able to put the pole into the top bracket because of the height of the ceiling in the house. Looking at the brackets as you can see in the photo? They have put the mounting holes where the pole is. Am I missing something? Anybody got any ideas? Can I perhaps have the top bracket a bit lower down to allow me to put the poll in, but this would mean the top bracket would be screwed into a part of the cabinet with no shelf/brace. Any ideas would be appreciated 😀
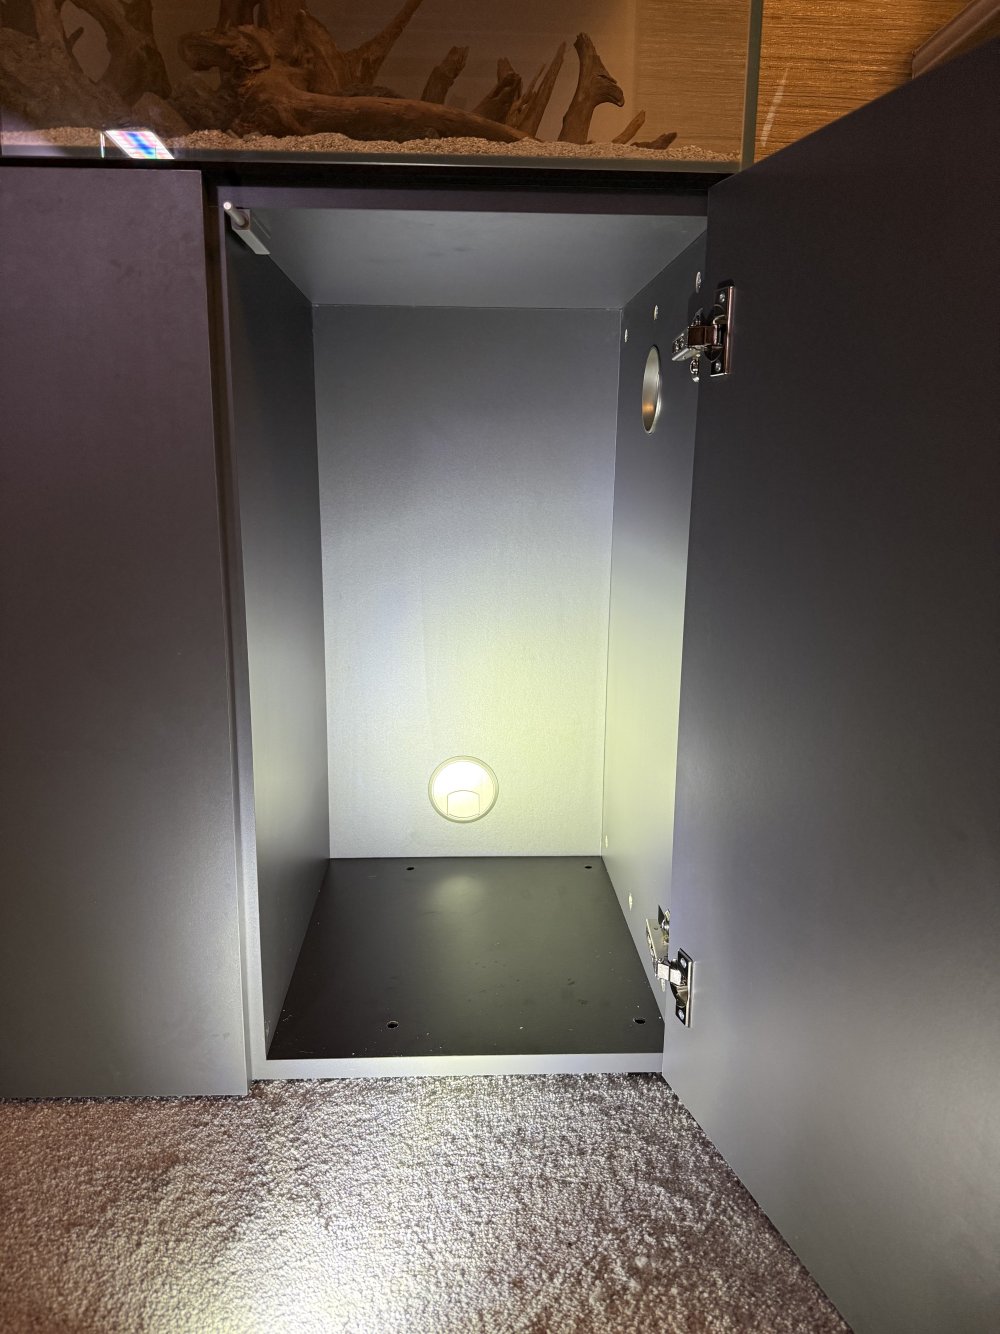
Ps looking again, the way it is designed, even the bottom bracket screws will not screw into the bottom shelf of the cabinet, so perhaps the cabinet walls can hack the weight of the brackets
Ps looking again, the way it is designed, even the bottom bracket screws will not screw into the bottom shelf of the cabinet, so perhaps the cabinet walls can hack the weight of the brackets